Add Wi-Fi Profile
Summary
This is a CW RMM implementation of the agnostic script Add-WifiProfile. The script can be used to manually add Wi-Fi profiles for Windows computers.
Requirement: PowerShell v5+
Sample Run
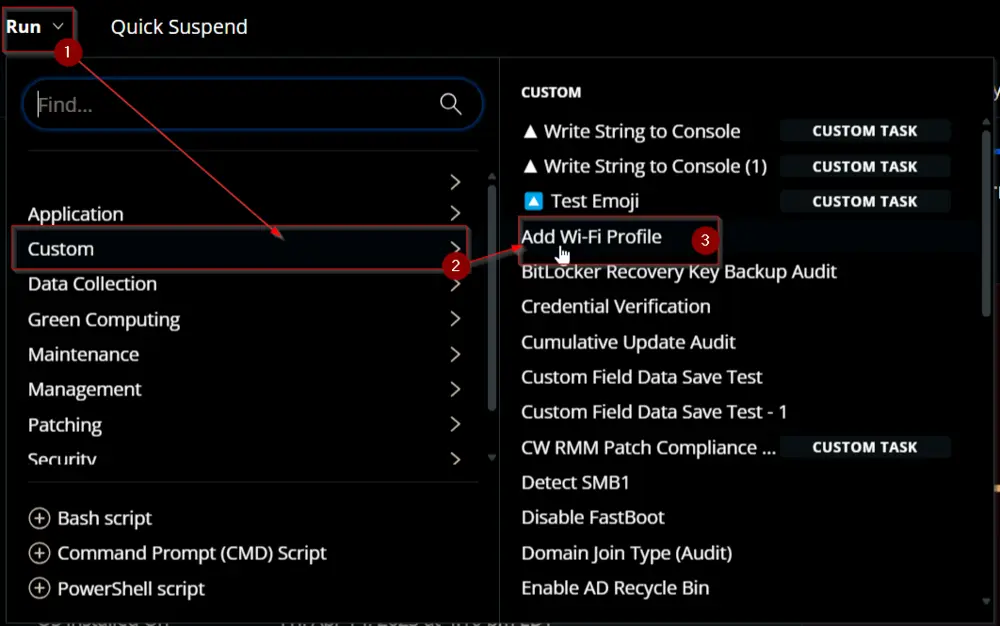
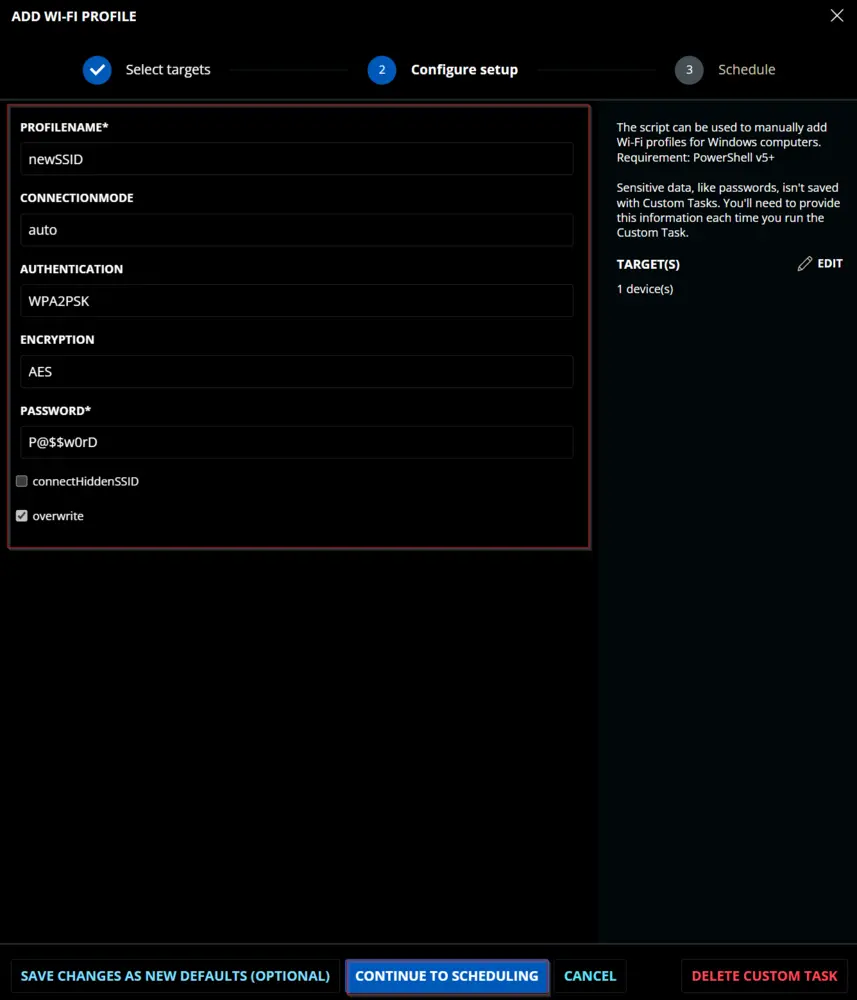
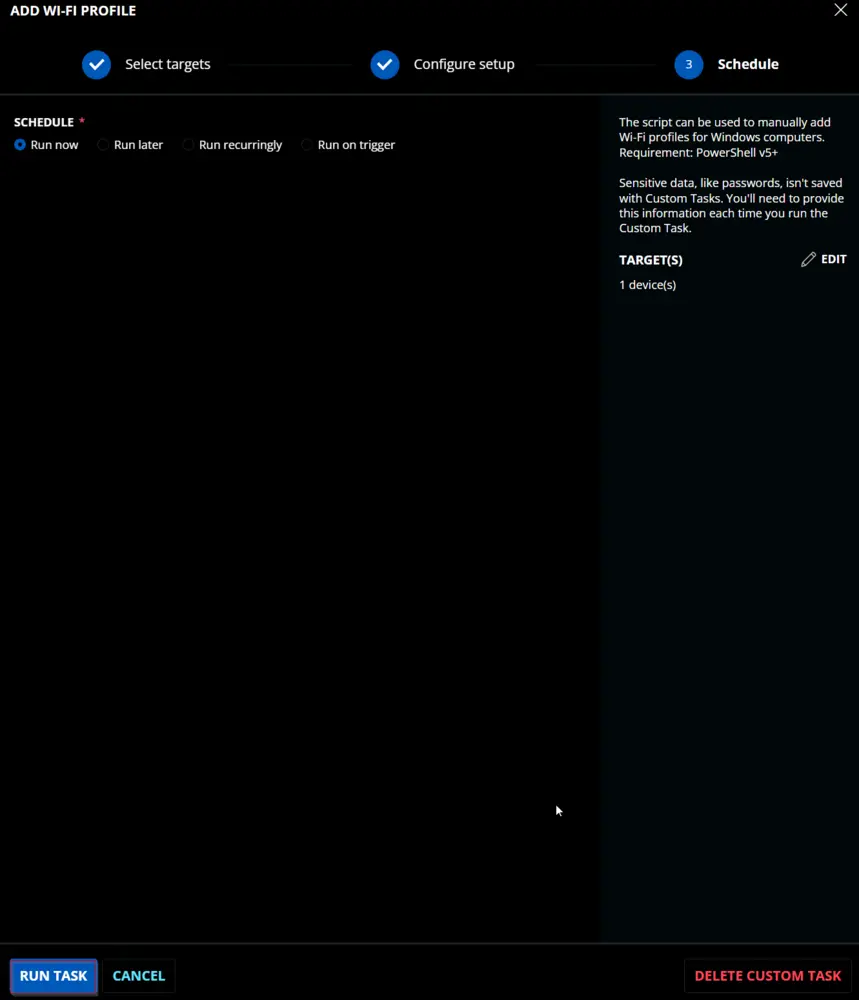
Dependencies
User Parameters
| Name | Example | Accepted Values | Required | Default | Type | Description |
|---|---|---|---|---|---|---|
profileName | ProValWifi | True | Text | The name of the WiFi profile to be created. | ||
password | 123423e1c$$!# | True | Text | The password of the WiFi profile. | ||
connectionMode | auto | manual, auto | false | auto | Text | The connection mode of the WiFi profile. |
authentication | WPA2PSK | open, shared, WPA, WPAPSK, WPA2, WPA2PSK, WPA3SAE, WPA3ENT192, OWE | false | WPA2PSK | Text | The authentication method used by the WiFi profile. |
encryption | none | none, WEP, TKIP, AES, GCMP256 | False | AES | Text | The encryption method used by the WiFi profile. |
connectHiddenSSID | Unmarked | False | $False | Flag | Whether to connect to the WiFi even if the SSID is hidden. | |
overwrite | Marked | False | $True | Flag | Whether to overwrite the WiFi profile if it already exists. |
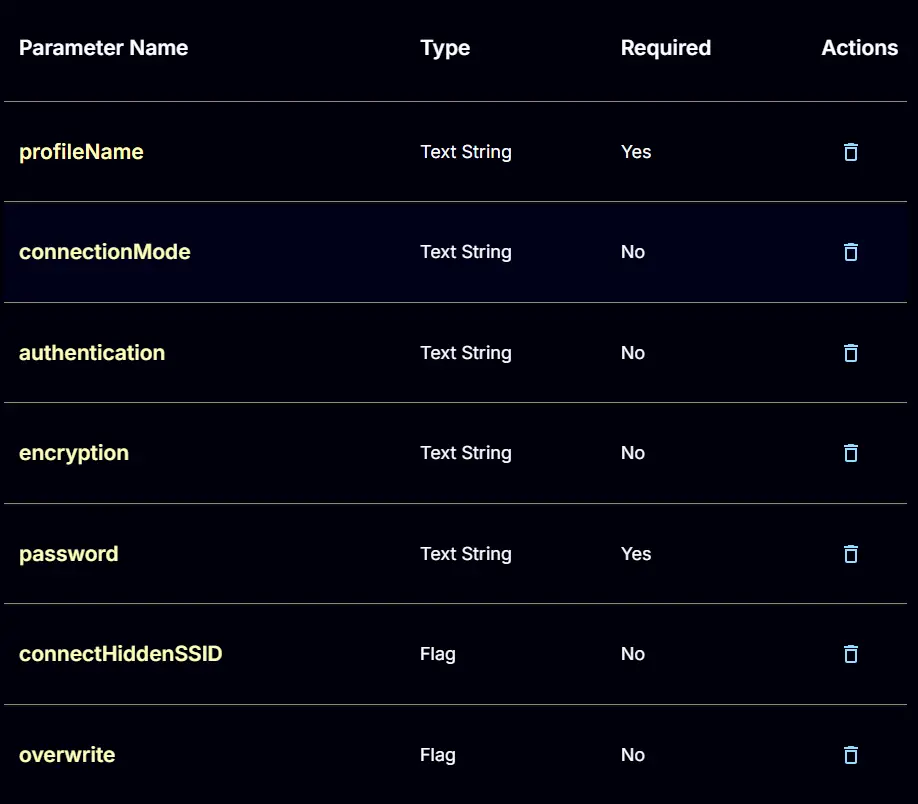
Task Creation
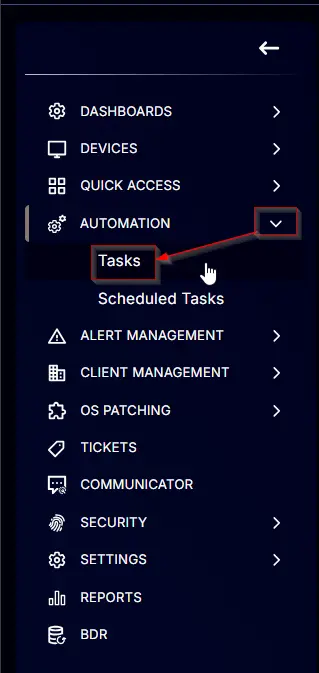
Create a new Script Editor style script in the system to implement this Task.

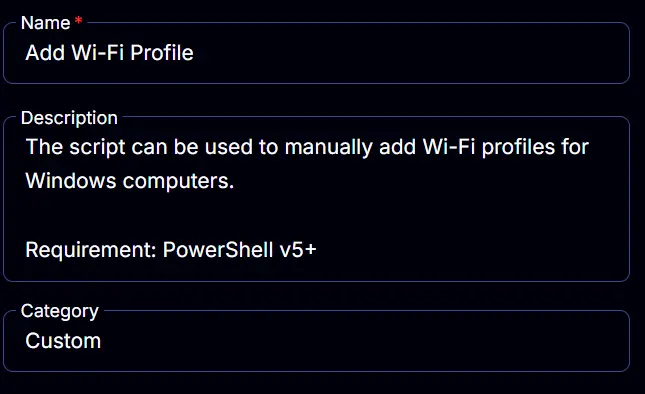
Name: Add Wi-Fi Profile
Description: The script can be used to manually add Wi-Fi profiles for Windows computers.
Requirement: PowerShell v5+
Category: Custom
Parameters
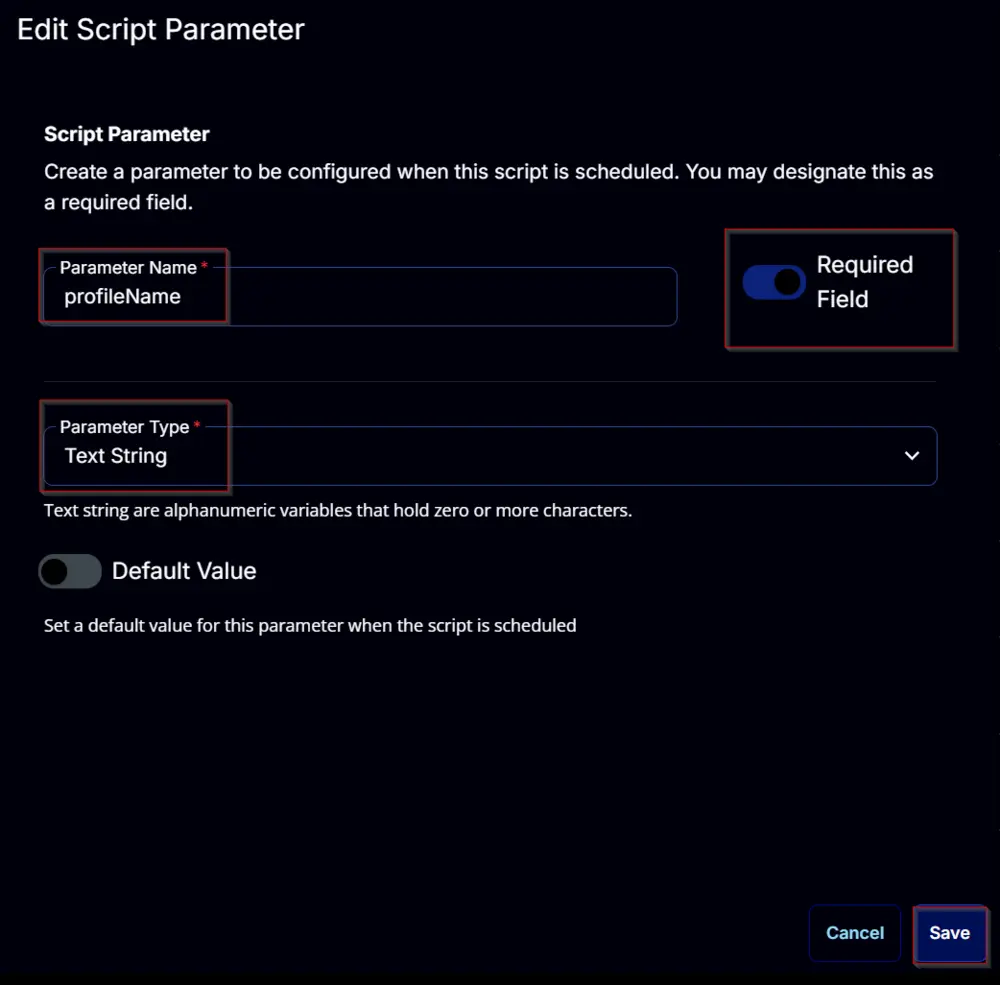
profileName:
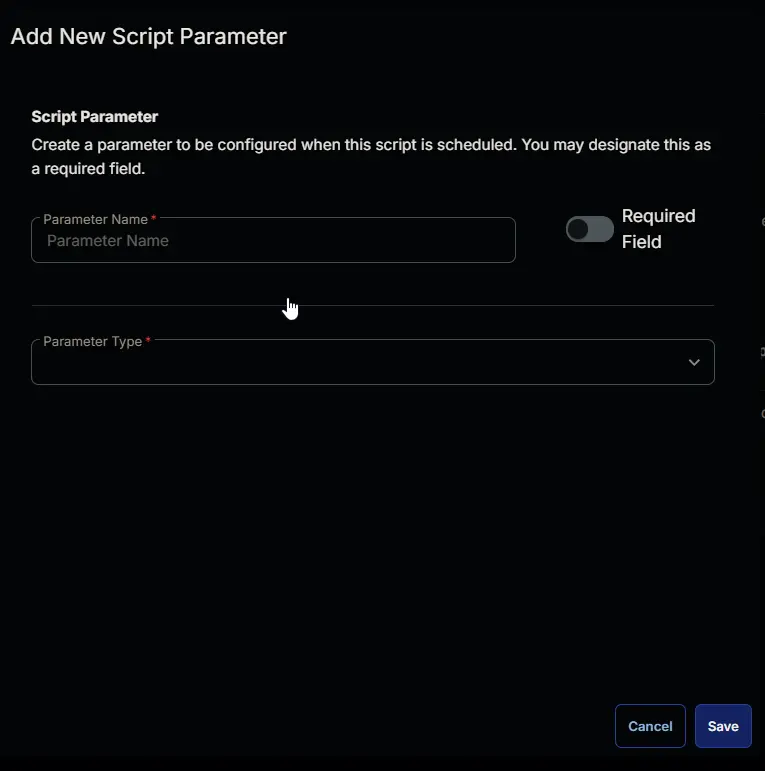
Add a new parameter by clicking the Add Parameter button present at the top-right corner of the screen.

This screen will appear.
- Set
profileNamein theParameter Namefield. - Select
Text Stringfrom theParameter Typedropdown menu. - Enable the
Required Fieldbutton. - Click the
Savebutton.
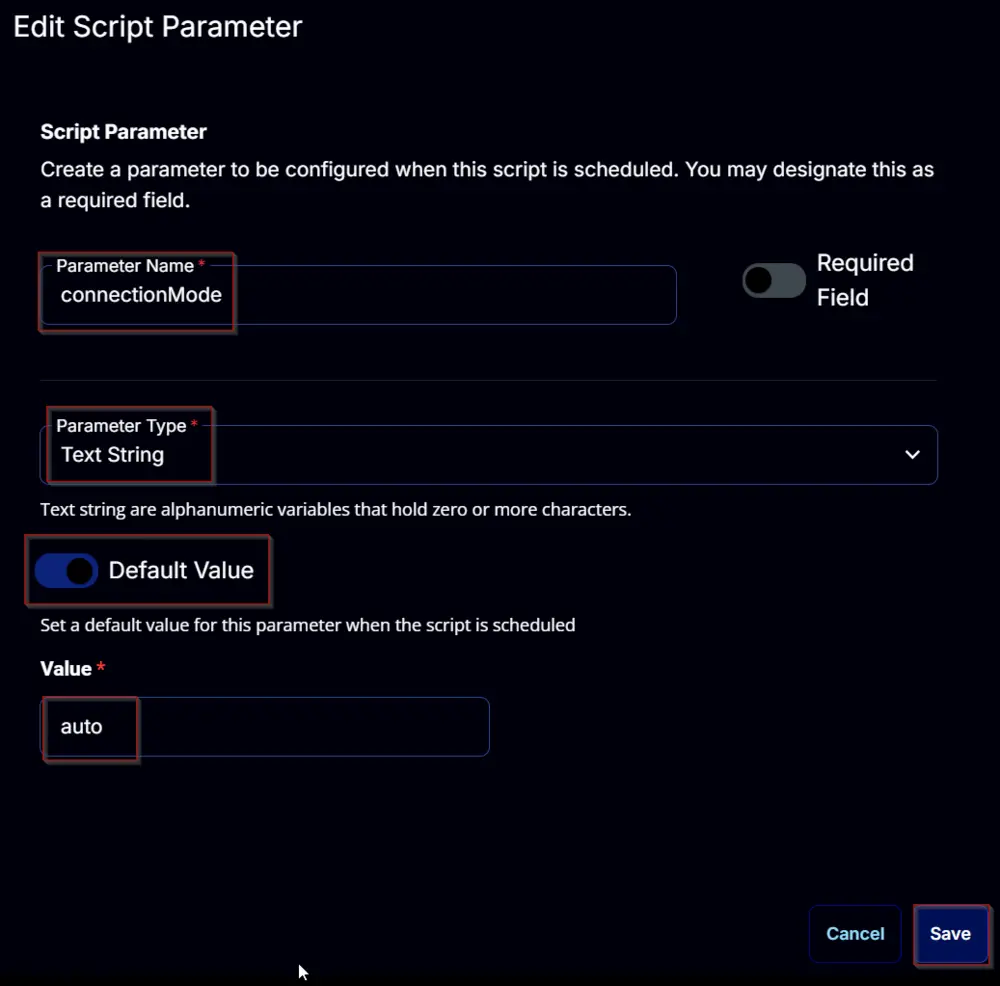
connectionMode:
Add a new parameter by clicking the Add Parameter button present at the top-right corner of the screen.
This screen will appear.
- Set
connectionModein theParameter Namefield. - Select
Text Stringfrom theParameter Typedropdown menu. - Enable the
Default Valuebutton. - Set
autoin theValuefield. - Click the
Savebutton.
authentication:
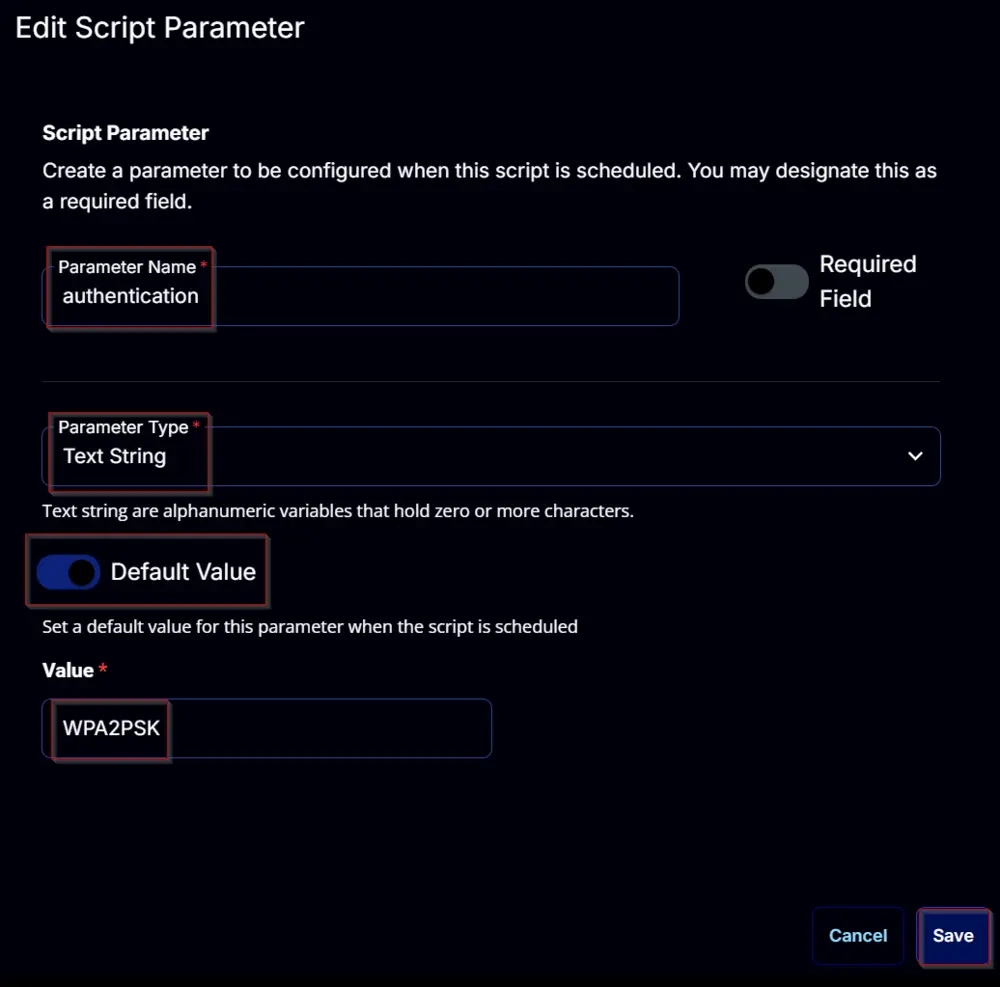
Add a new parameter by clicking the Add Parameter button present at the top-right corner of the screen.
This screen will appear.
- Set
authenticationin theParameter Namefield. - Select
Text Stringfrom theParameter Typedropdown menu. - Enable the
Default Valuebutton. - Set
WPA2PSKin theValuefield. - Click the
Savebutton.
encryption:
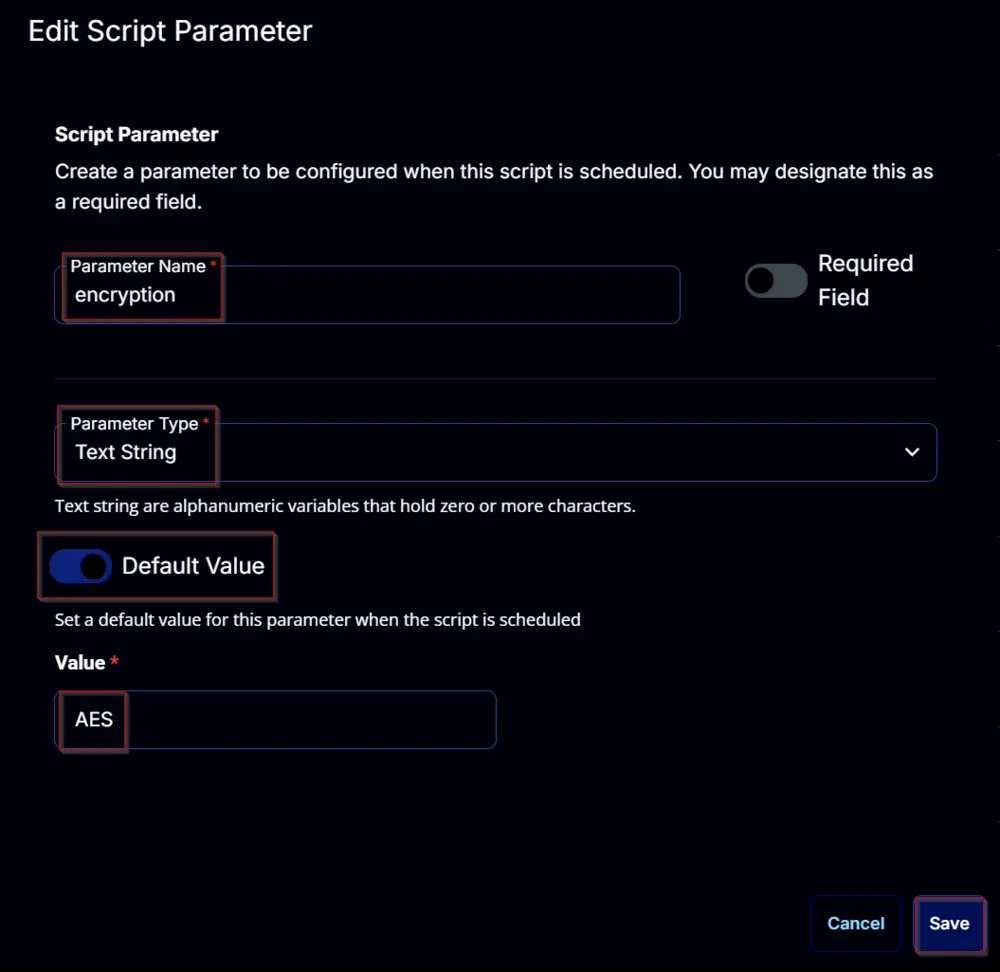
Add a new parameter by clicking the Add Parameter button present at the top-right corner of the screen.
This screen will appear.
- Set
encryptionin theParameter Namefield. - Select
Text Stringfrom theParameter Typedropdown menu. - Enable the
Default Valuebutton. - Set
AESin theValuefield. - Click the
Savebutton.
password:
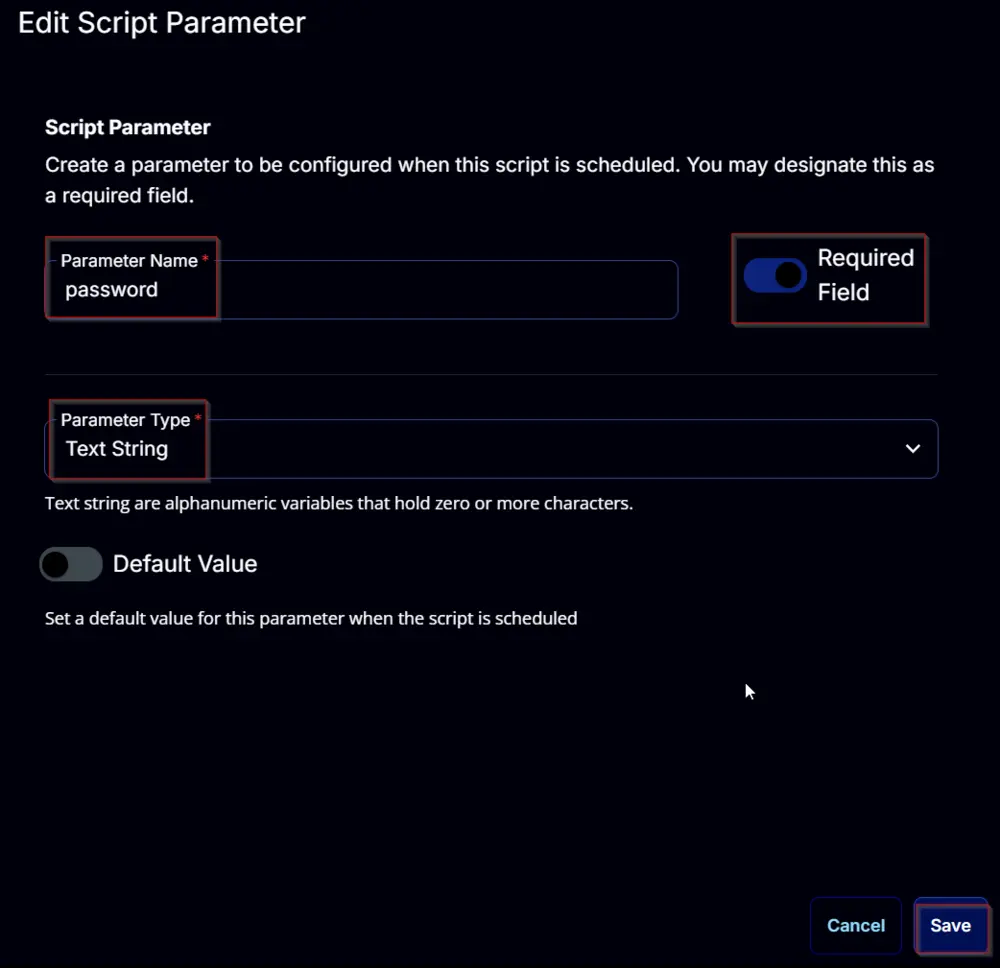
Add a new parameter by clicking the Add Parameter button present at the top-right corner of the screen.
This screen will appear.
- Set
passwordin theParameter Namefield. - Select
Text Stringfrom theParameter Typedropdown menu. - Enable the
Required Fieldbutton. - Click the
Savebutton.
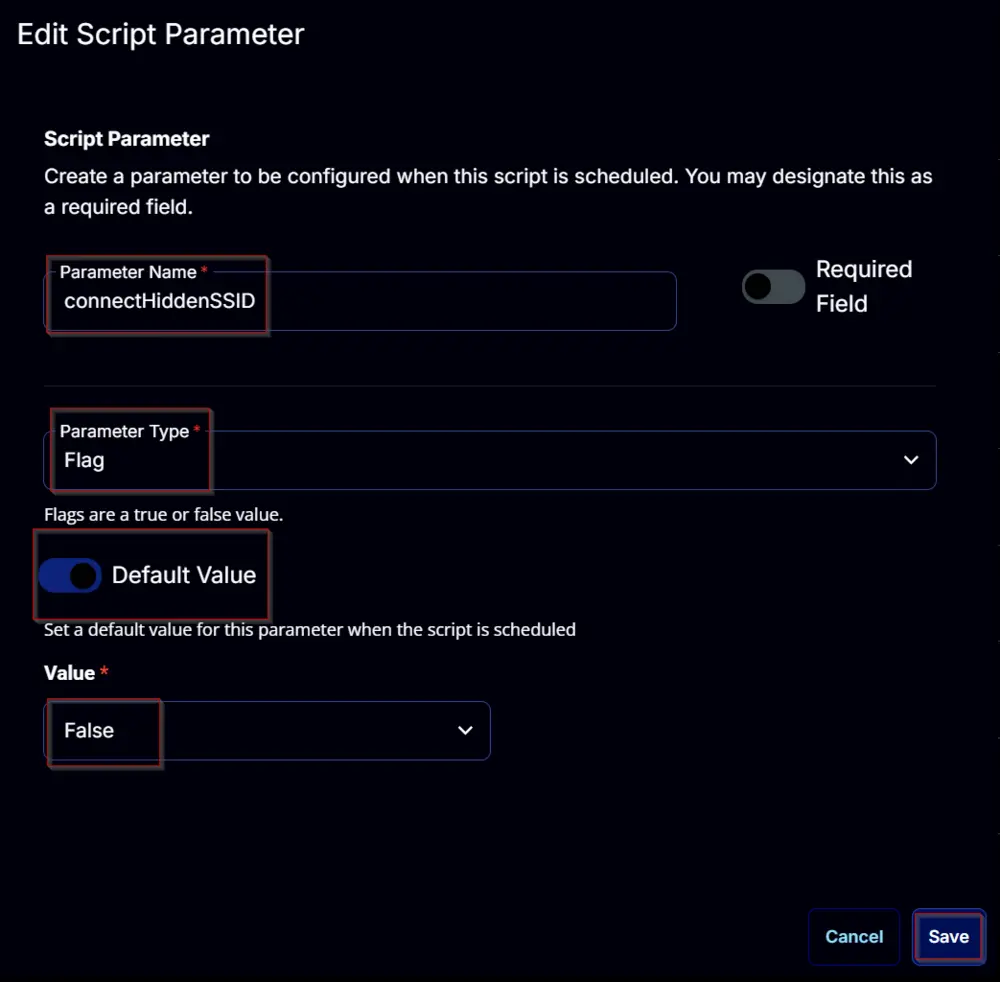
connectHiddenSSID:
Add a new parameter by clicking the Add Parameter button present at the top-right corner of the screen.
This screen will appear.
- Set
connectHiddenSSIDin theParameter Namefield. - Select
Flagfrom theParameter Typedropdown menu. - Enable the
Default Valuebutton. - Set
Falsein theValuefield. - Click the
Savebutton.
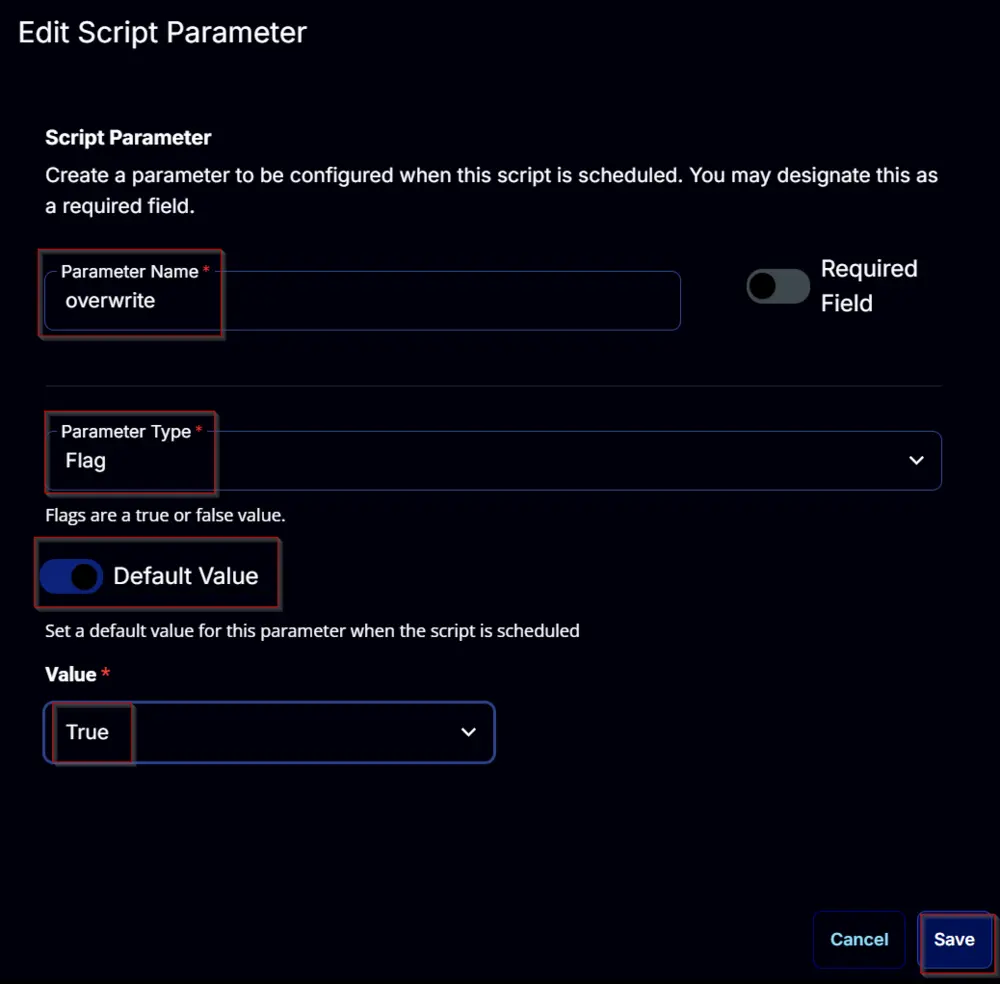
overwrite:
Add a new parameter by clicking the Add Parameter button present at the top-right corner of the screen.
This screen will appear.
- Set
overwritein theParameter Namefield. - Select
Flagfrom theParameter Typedropdown menu. - Enable the
Default Valuebutton. - Set
Truein theValuefield. - Click the
Savebutton.
Task
Navigate to the Script Editor Section and start by adding a row. You can do this by clicking the Add Row button at the bottom of the script page.

A blank function will appear.

Row 1 Function: PowerShell Script
Search and select the PowerShell Script function.


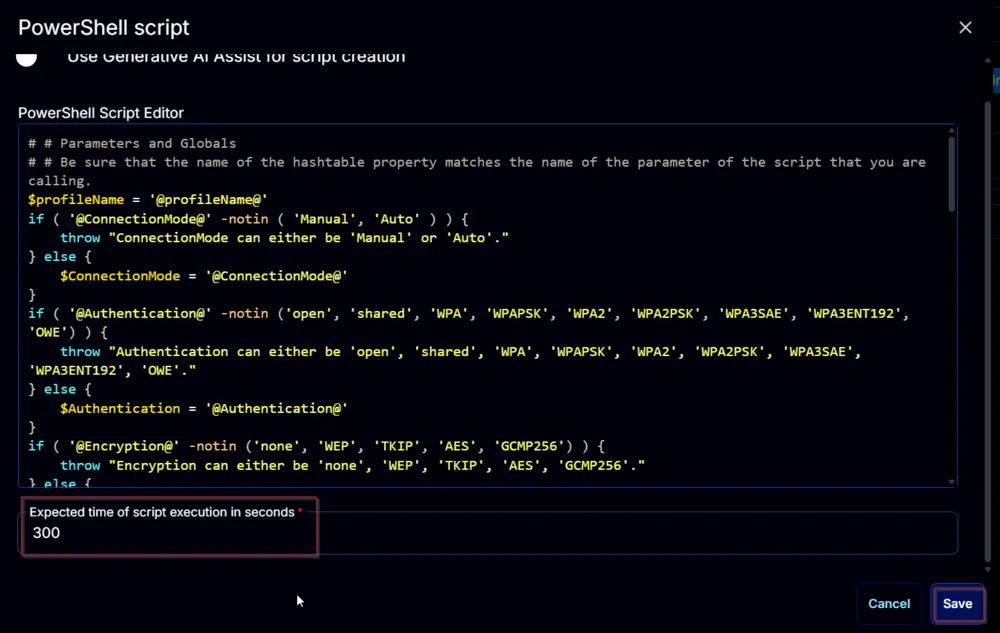
The following function will pop up on the screen:

Paste in the following PowerShell script and set the Expected time of script execution in seconds to 300 seconds. Click the Save button.
Row 2 Function: Script Log
Add a new row by clicking the Add Row button.

A blank function will appear.

Search and select the Script Log function.


The following function will pop up on the screen:

In the script log message, simply type %output% and click the Save button.

Click the Save button at the top-right corner of the screen to save the script.

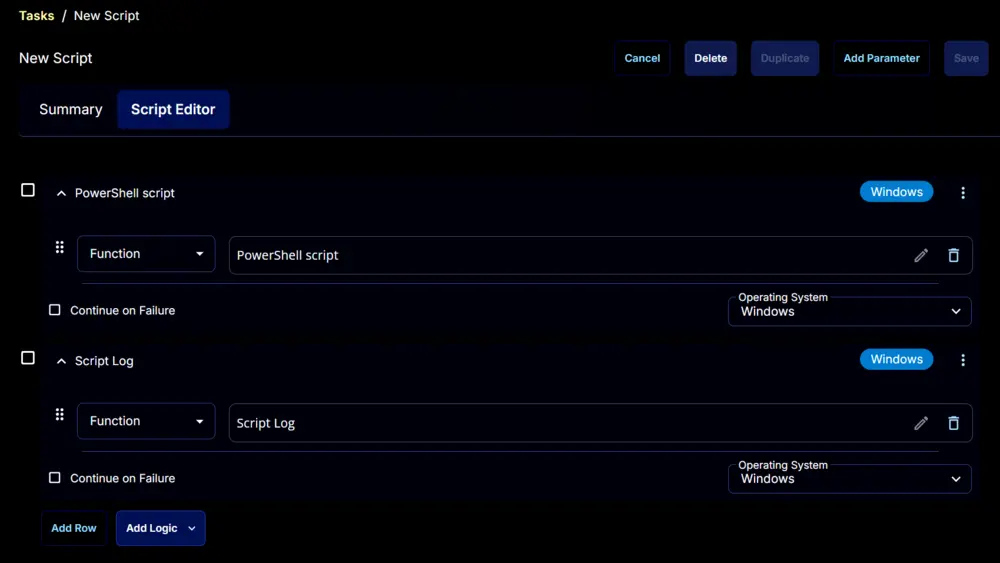
Completed Task
Output
- Script Log
Changelog
2025-04-10
- Initial version of the document