cPVAL ThreatLocker Deployment
Summary
Enables ThreatLocker auto-deployment for Windows or both Windows and Macintosh machines at the organization level.
Details
| Label | Field Name | Definition Scope | Type | Option Value | Default Value | Required | Technician Permission | Automation Permission | API Permission | Description | Tool Tip | Footer Text | Custom Field Tab Name |
|---|---|---|---|---|---|---|---|---|---|---|---|---|---|
| cPVAL ThreatLocker Deployment | cpvalThreatLockerDeployment | Organization | drop-down | All, Windows, Windows and Macintosh, Disabled, windows workstations, windows servers and Macs, windows workstations and macs, windows servers, macs, Uninstall | Disabled | False | Editable | Read/Write | Read/Write | Select OS to enable auto-deployment of ThreatLocker. Select 'Uninstall' to uninstall ThreatLocker if it is already installed on the machines. | Select OS to enable auto-deployment of ThreatLocker. Select 'Uninstall' to uninstall ThreatLocker if its already installed on the machines. | ThreatLocker | ThreatLocker |
Dependencies
Custom Field Creation
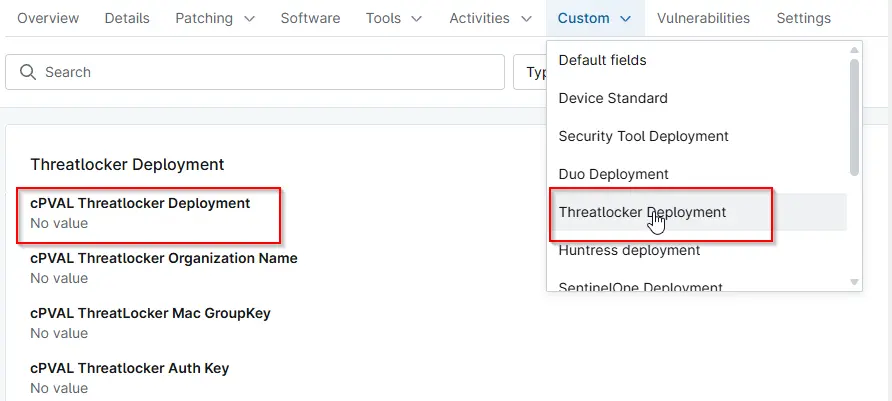
Sample Screenshot
Changelog
2026-06-02
- Added
Uninstalloption in the custom field.
2025-05-27
- Initial version of the document