Enable TPM
Summary
This document initializes TPM as part of the provisioning process for a Trusted Platform Module (TPM). Provisioning is the process of preparing a TPM for use. This guide covers the CW RMM implementation of Enable TPM.
Sample Run
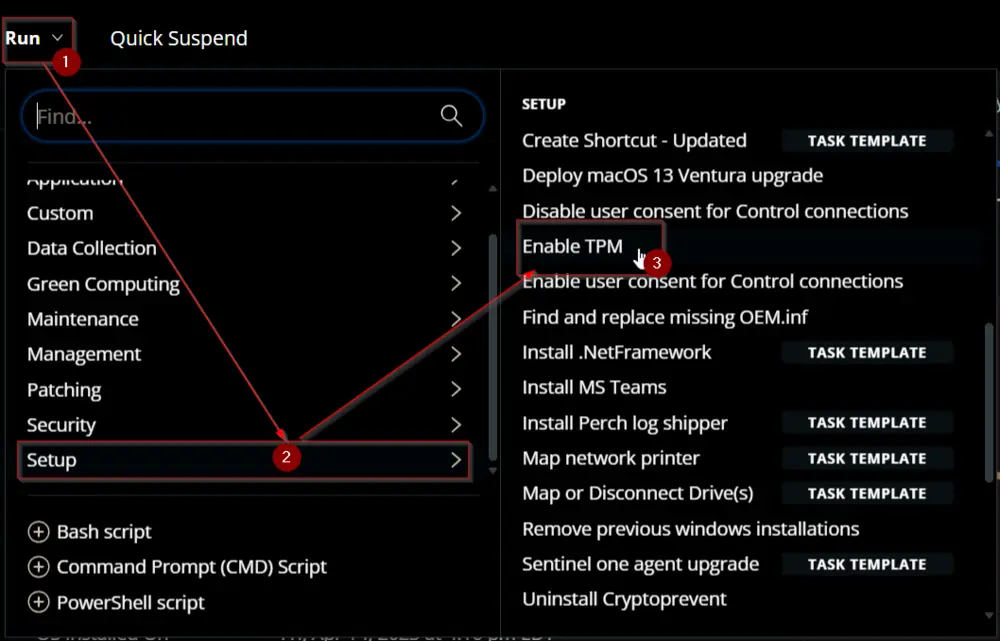
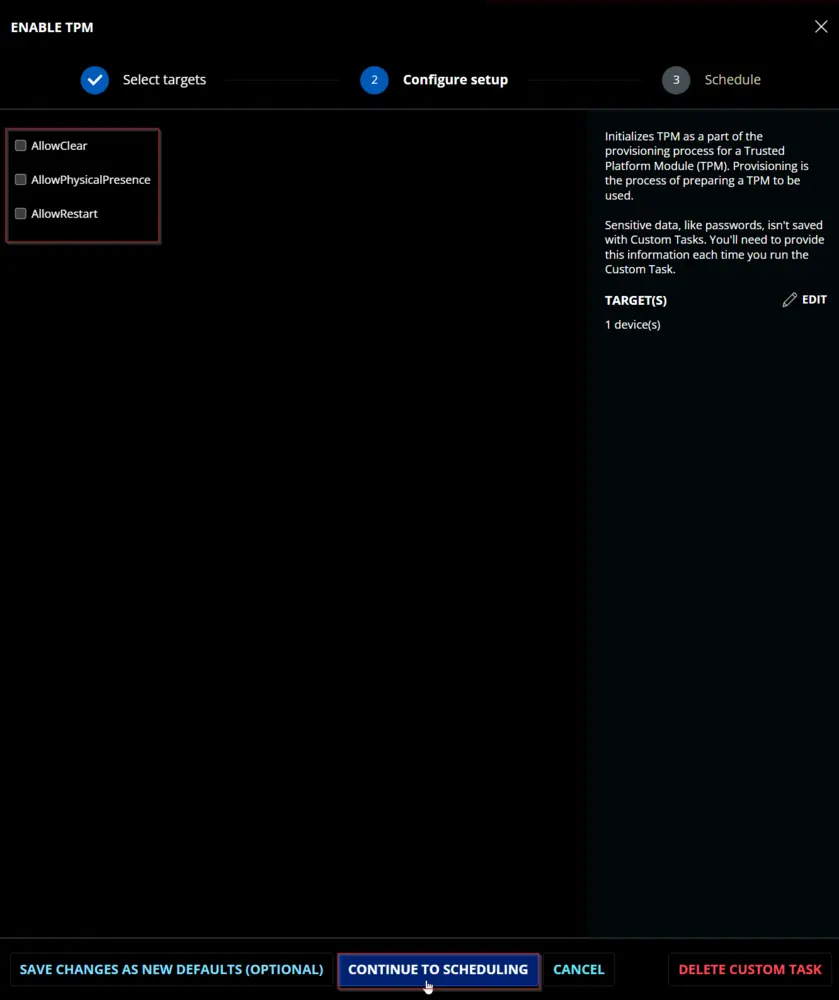
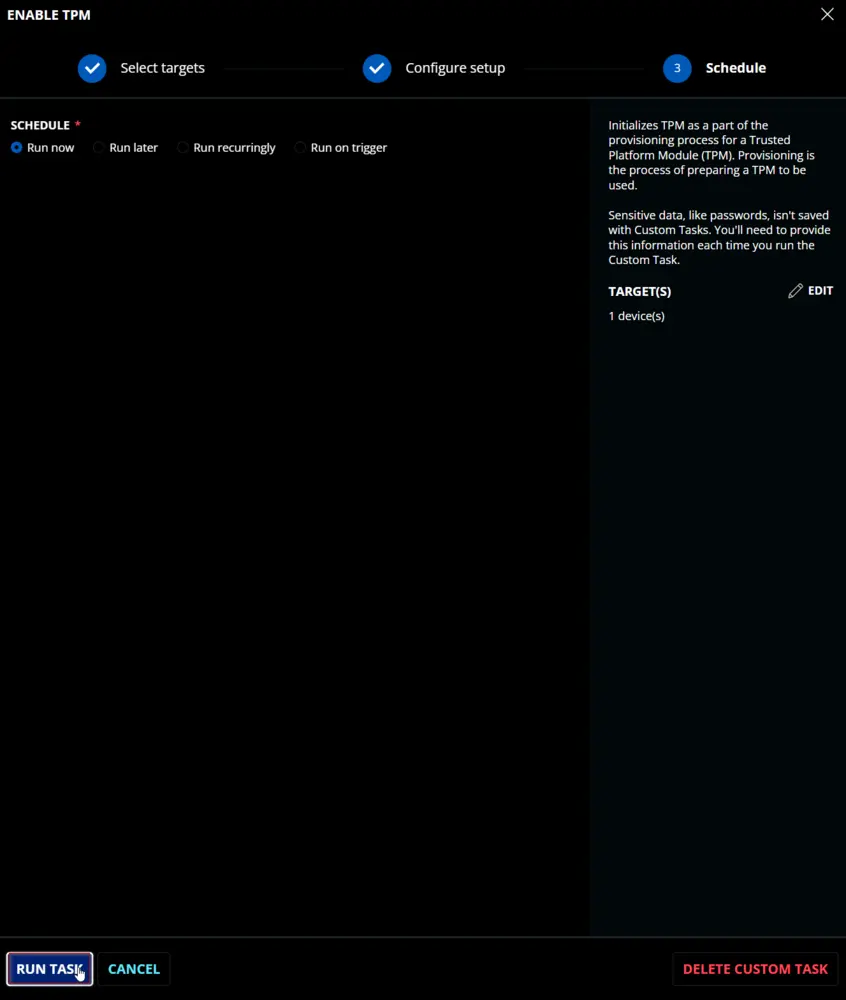
Dependencies
SEC - Encryption - Script - Bitlocker - Enable TPM
User Parameters
| Name | Example | Required | Type | Description |
|---|---|---|---|---|
AllowClear | 0/1 | False | Flag | Indicates that the provisioning process clears the TPM, if necessary, to move the TPM closer to complying with the latest Windows standards. |
AllowPhysicalPresence | 0/1 | False | Flag | Indicates that the provisioning process may send physical presence commands that require a user to be present in order to continue. |
AllowRestart | 0/1 | False | Flag | Allows the script to automatically restart or shut down the machine. This can happen during the initialization of TPM. |

Task Creation
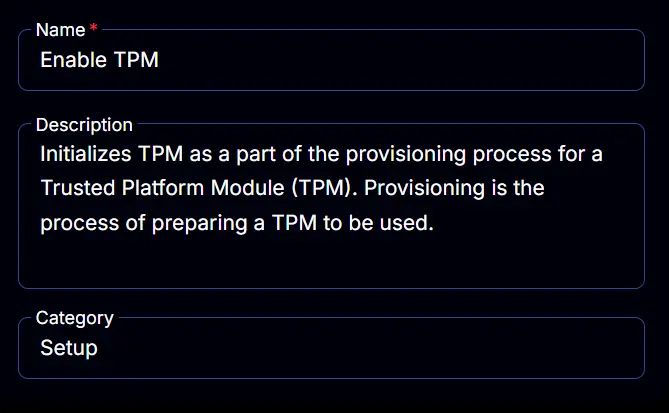
Create a new Script Editor style script in the system to implement this task.
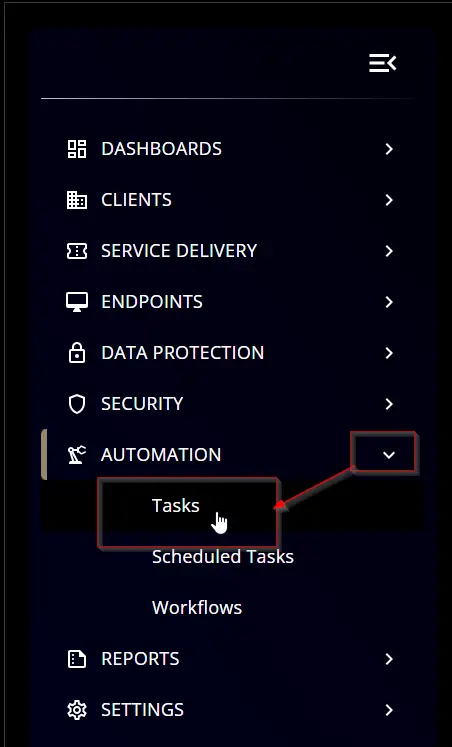

Name: Enable TPM
Description: Initializes TPM as part of the provisioning process for a Trusted Platform Module (TPM). Provisioning is the process of preparing a TPM for use.
Category: Setup
Parameters
AllowClear
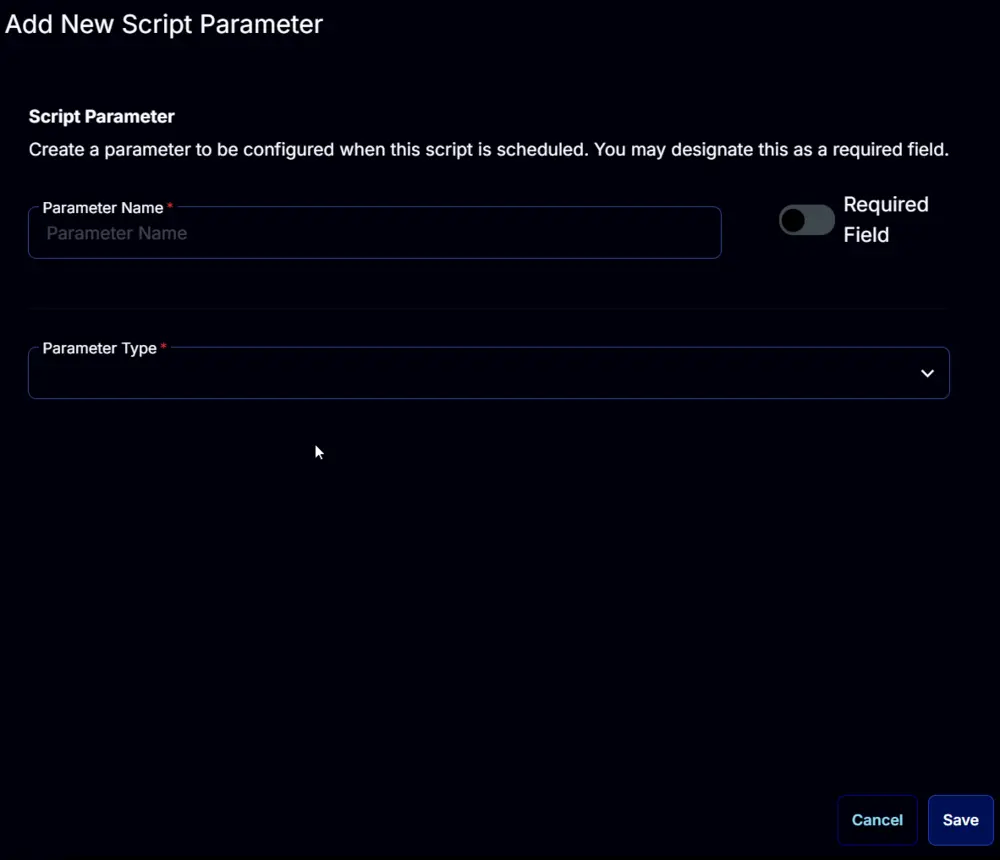
Add a new parameter by clicking the Add Parameter button present at the top-right corner of the screen.

This screen will appear.
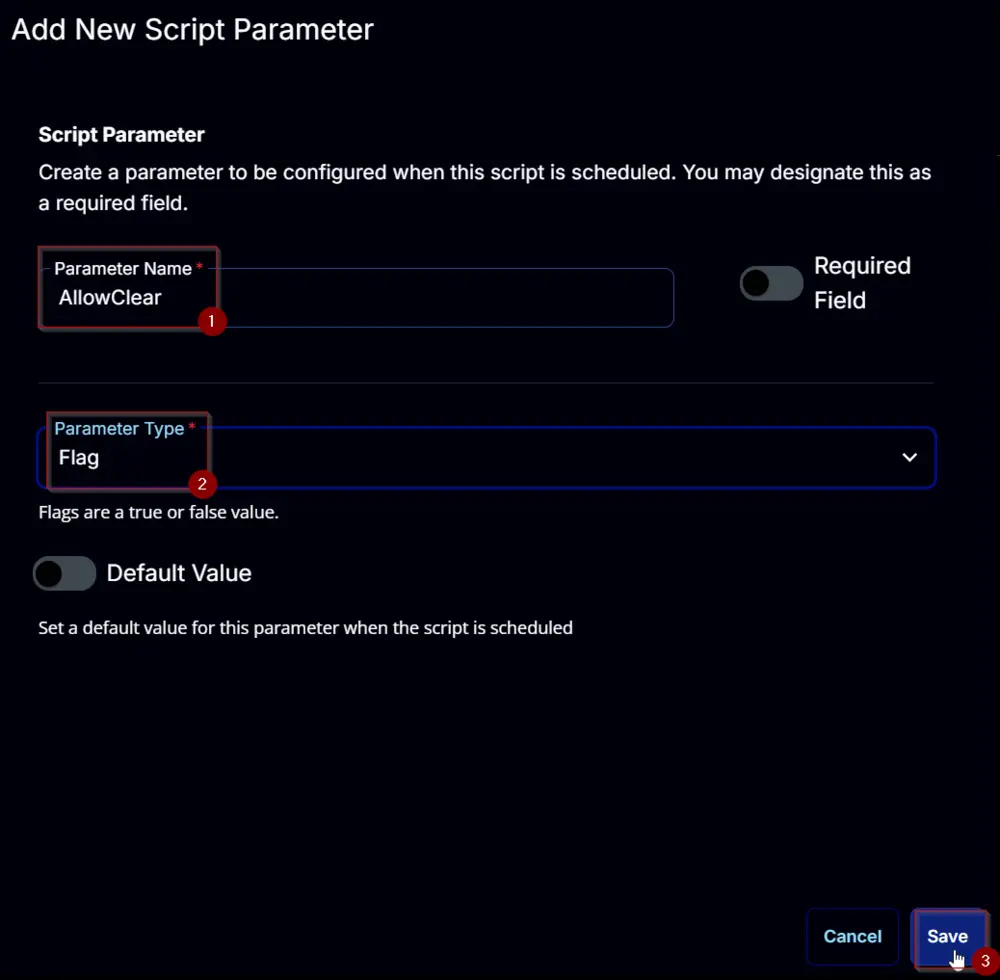
- Set
AllowClearin theParameter Namefield. - Select
Flagfrom theParameter Typedropdown menu. - Click the
Savebutton.
AllowPhysicalPresence
Add a new parameter by clicking the Add Parameter button present at the top-right corner of the screen.
This screen will appear.
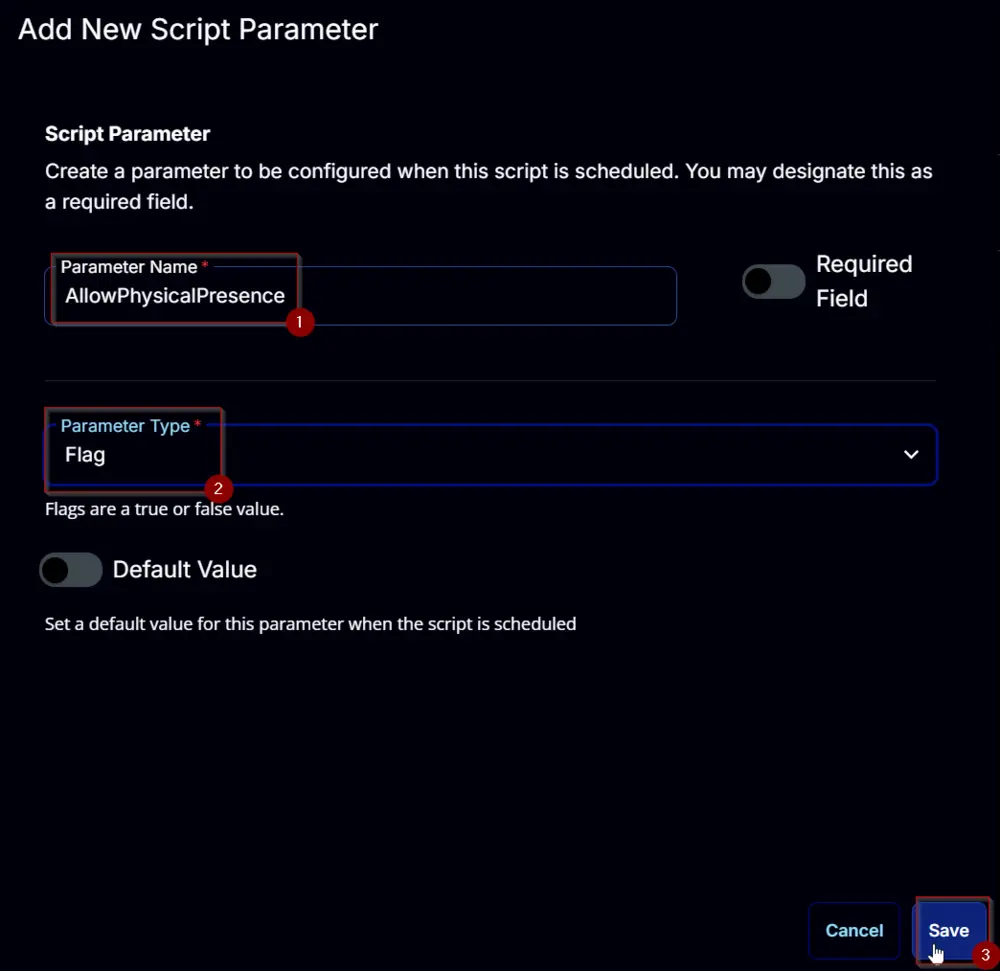
- Set
AllowPhysicalPresencein theParameter Namefield. - Select
Flagfrom theParameter Typedropdown menu. - Click the
Savebutton.
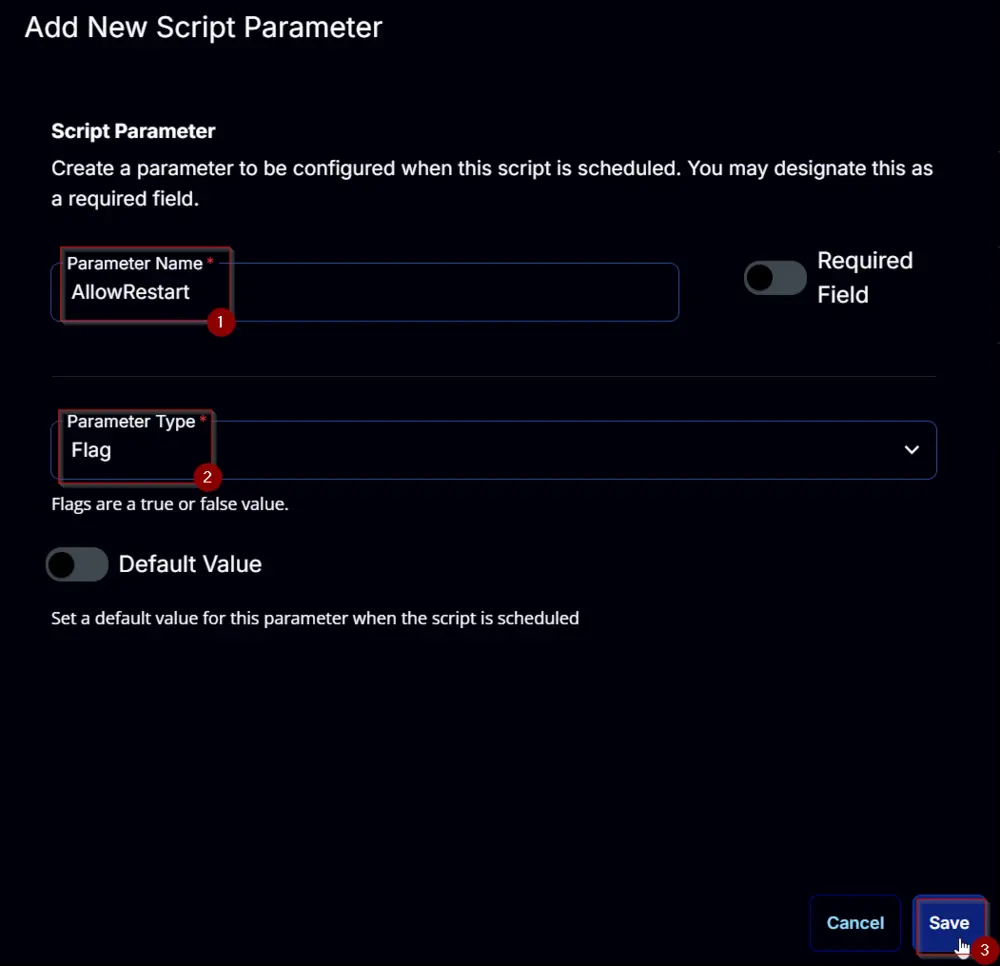
AllowRestart
Add a new parameter by clicking the Add Parameter button present at the top-right corner of the screen.
This screen will appear.
- Set
AllowRestartin theParameter Namefield. - Select
Flagfrom theParameter Typedropdown menu. - Click the
Savebutton.
Task
Navigate to the Script Editor section and start by adding a row. You can do this by clicking the Add Row button at the bottom of the script page.

A blank function will appear.

Row 1 Function: PowerShell Script
Search and select the PowerShell Script function.


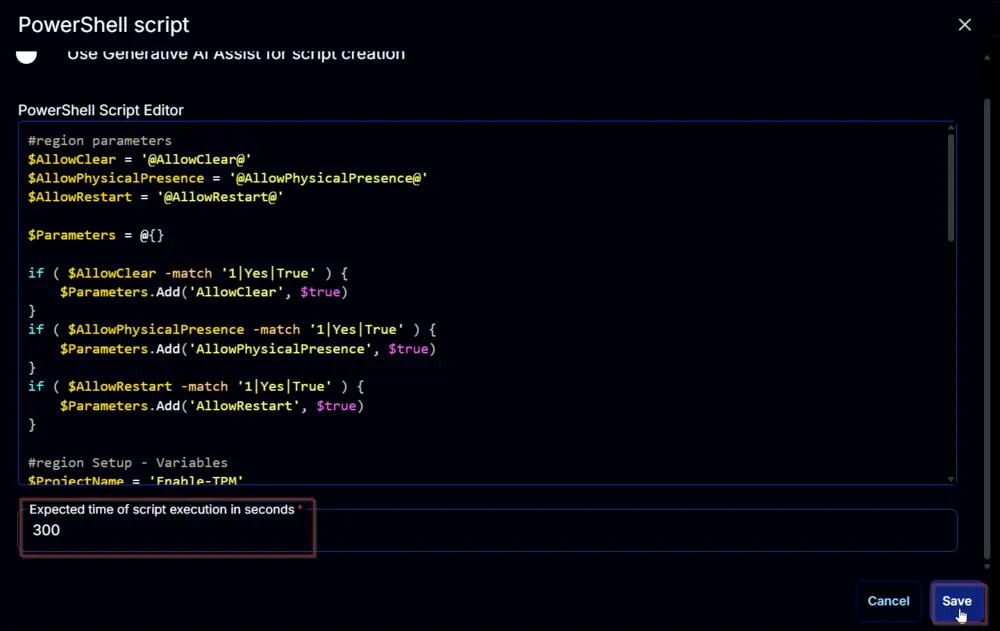
The following function will pop up on the screen:

Paste in the following PowerShell script and set the Expected time of script execution in seconds to 300 seconds. Click the Save button.
Row 2 Function: Script Log
Add a new row by clicking the Add Row button.

A blank function will appear.

Search and select the Script Log function.

The following function will pop up on the screen:

In the script log message, simply type %Output% and click the Save button.

Click the Save button at the top-right corner of the screen to save the script.

Completed Script

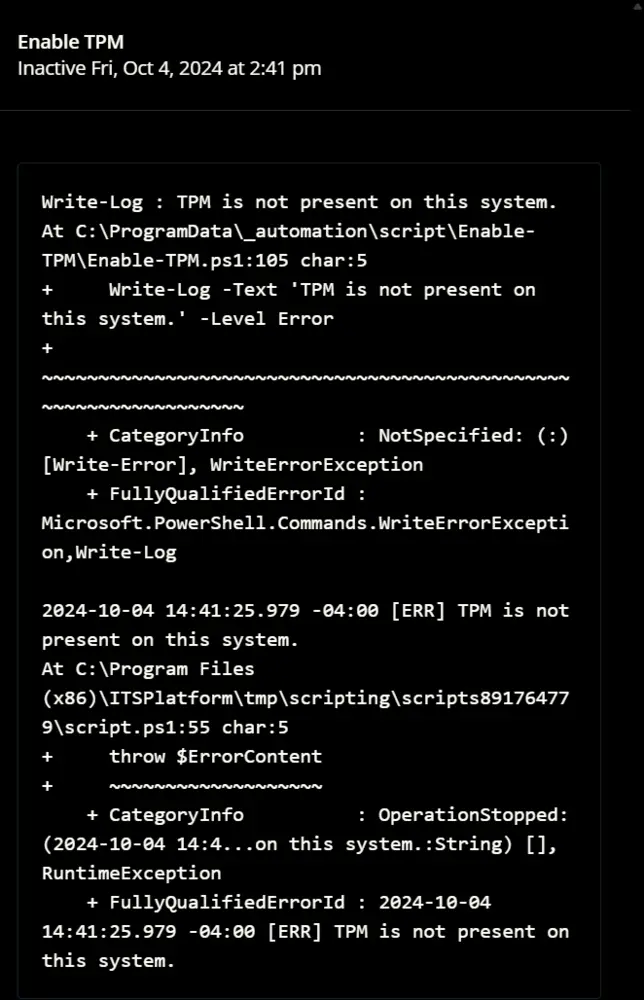
Output
- Script Log
Changelog
2025-04-10
- Initial version of the document