Uninstall Unapproved ScreenConnect Client
Summary
This script is intended for managed environments where only designated ScreenConnect Client instances are allowed.
It takes a parameter containing the names of approved ScreenConnect Client instances, verifies the input, and scans the system for all installed instances. Any instance not included in the approved list is silently uninstalled. The script records all actions and confirms that unapproved instances have been removed.
If the ApprovedInstances parameter is set to none, the script will uninstall every ScreenConnect Client instance present on the system.
Sample Run
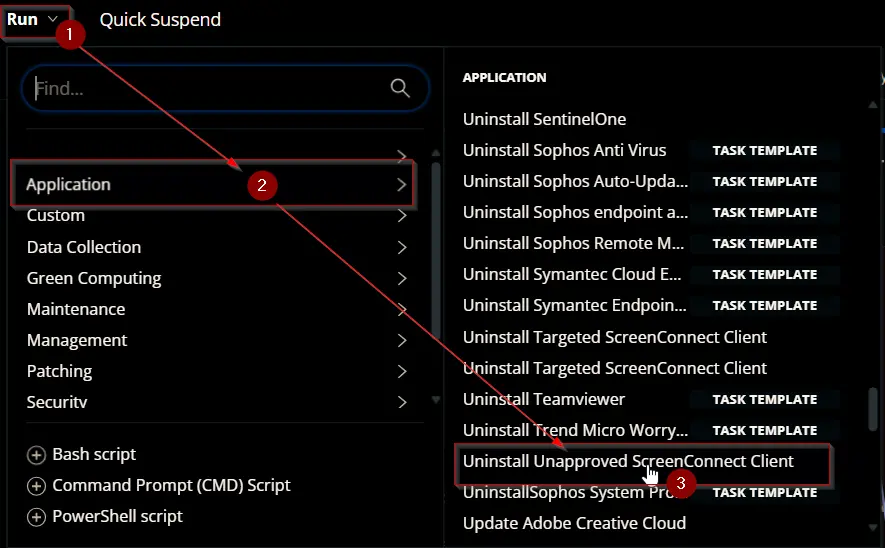
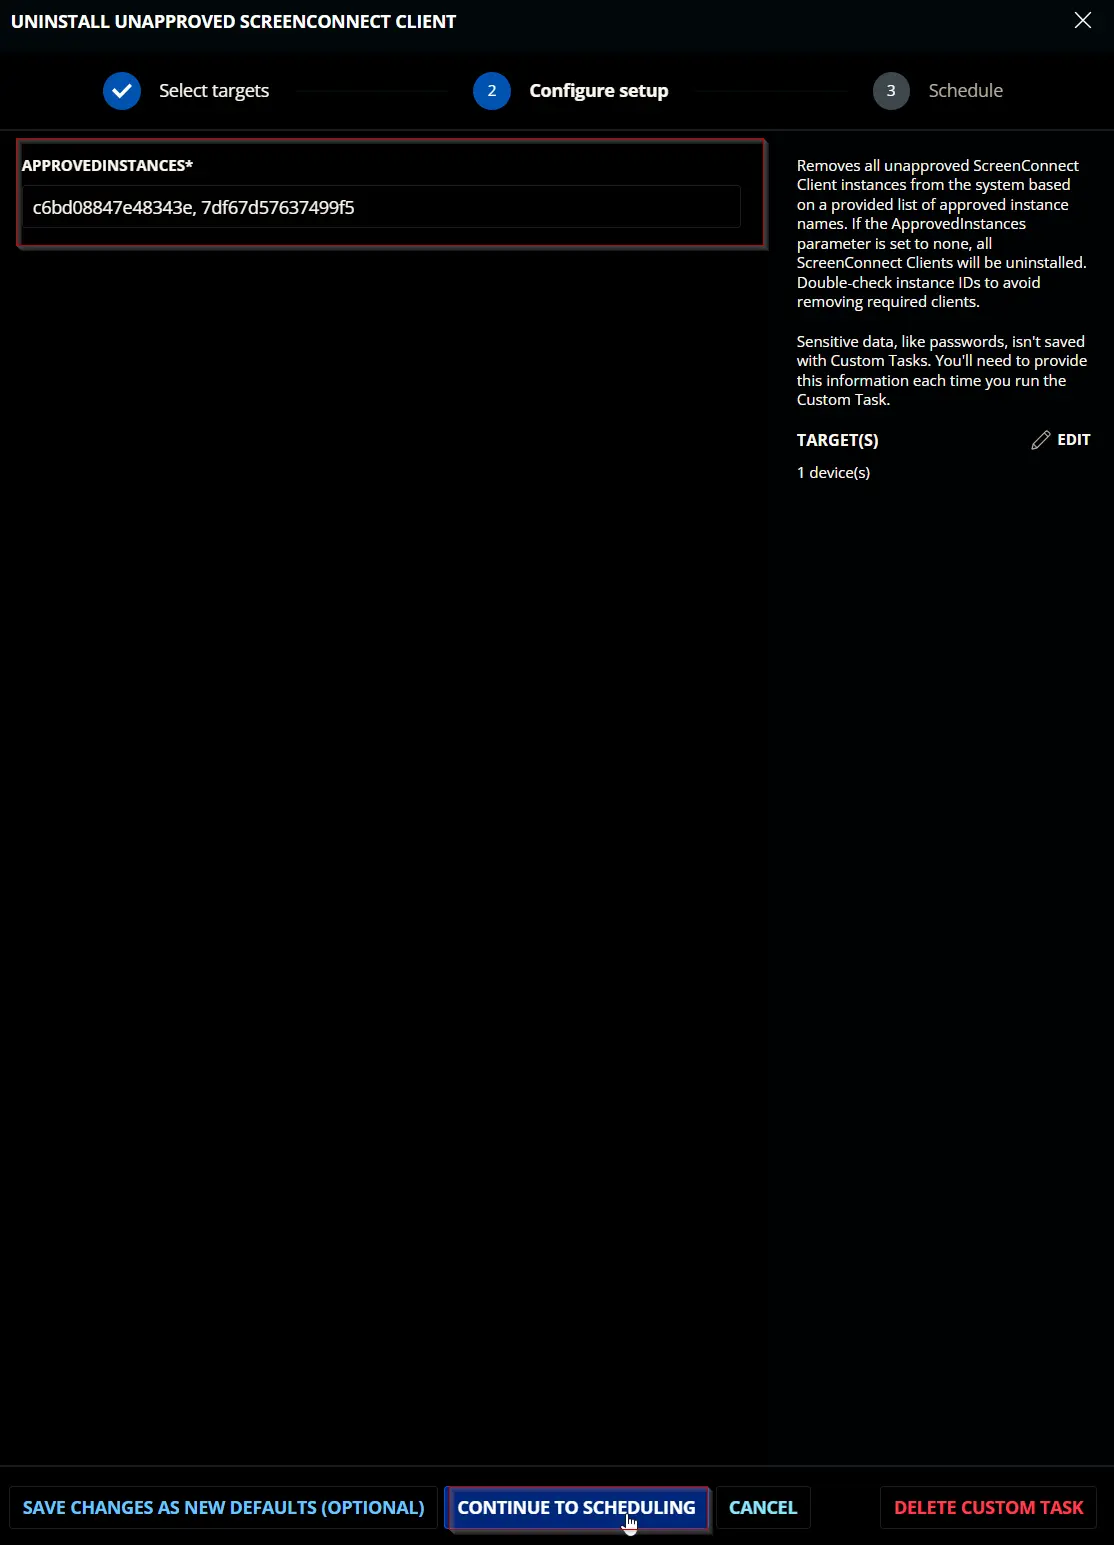
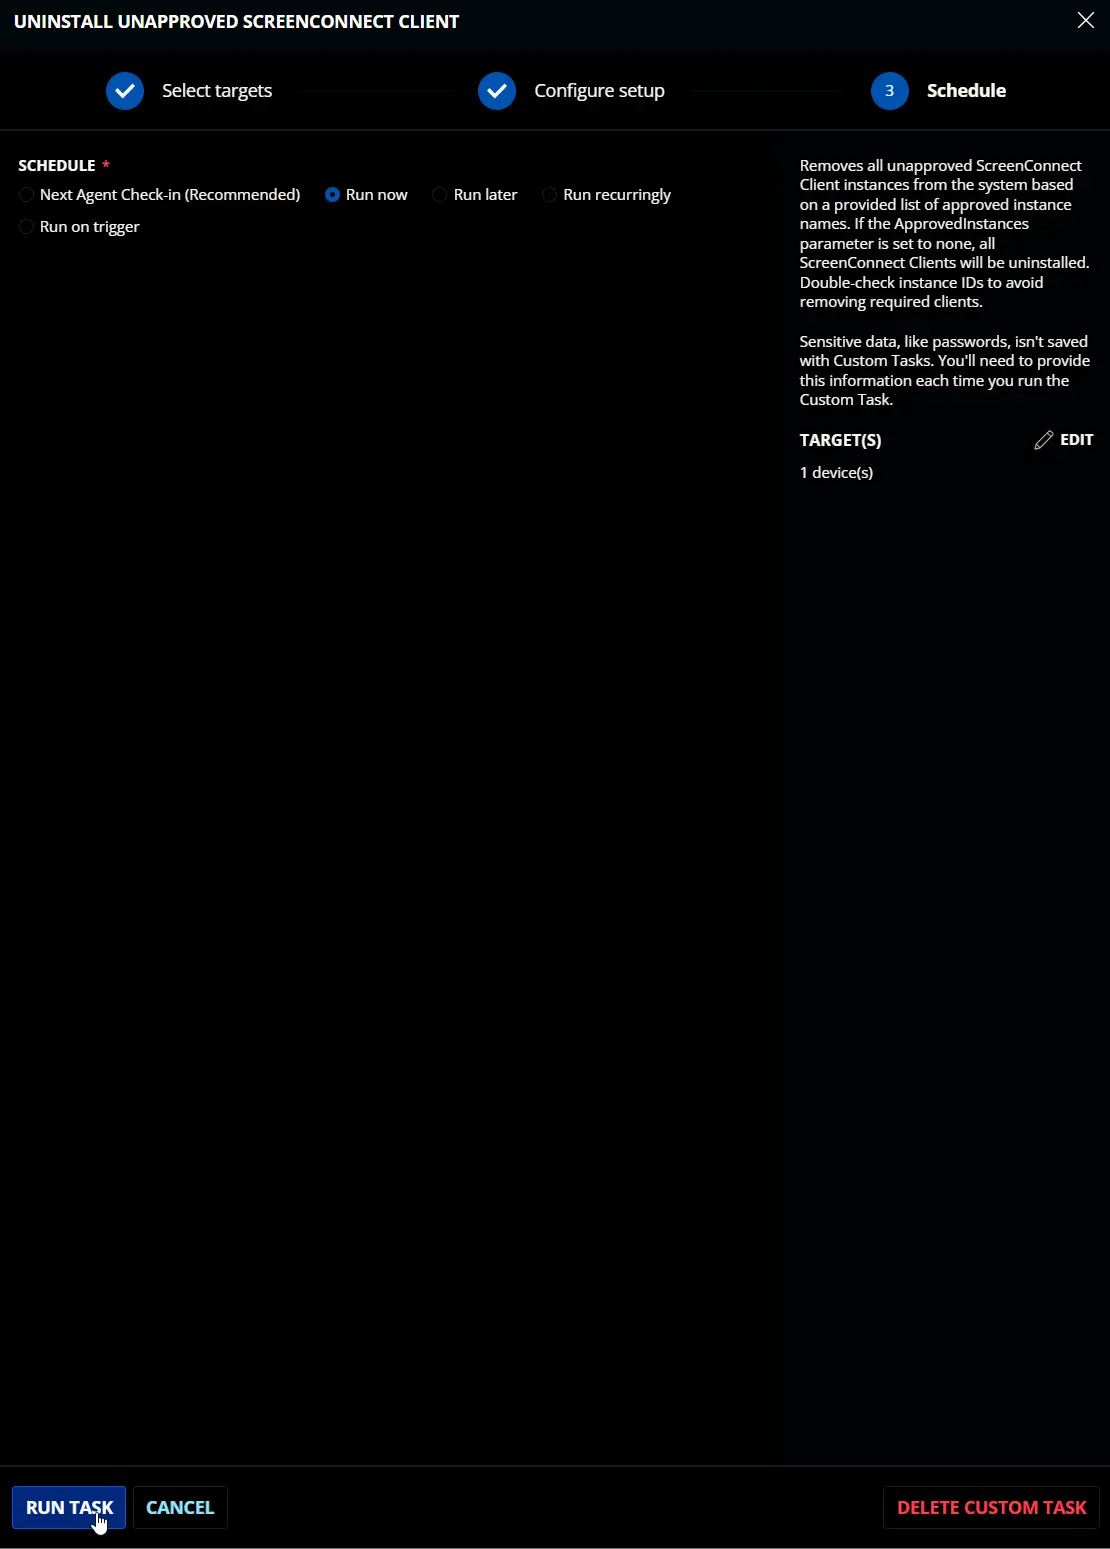
User Parameters
| Name | Example | Accepted Values | Required | Default | Type | Description |
|---|---|---|---|---|---|---|
| ApprovedInstances | 56bd08847e48343f, 9df67d57637499f3 | True | Text String | A comma-separated list of approved ScreenConnect Client instance names (typically 16-character alphanumeric strings). If the value is set to 'none', the script will remove all installed instances of ScreenConnect Client from the system. Use this option with caution, as it will uninstall every ScreenConnect Client instance. |
Task Creation
Script Details
Step 1
Navigate to Automation ➞ Tasks
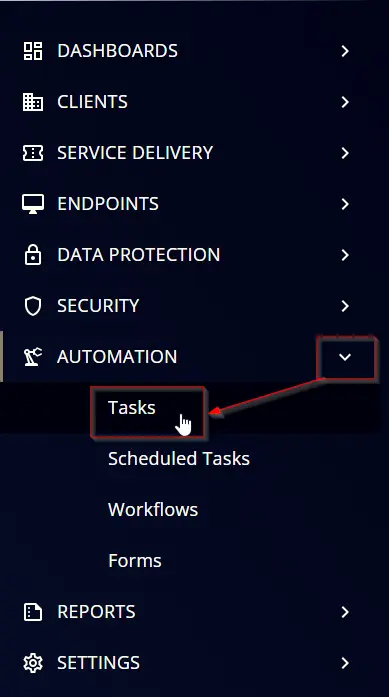
Step 2
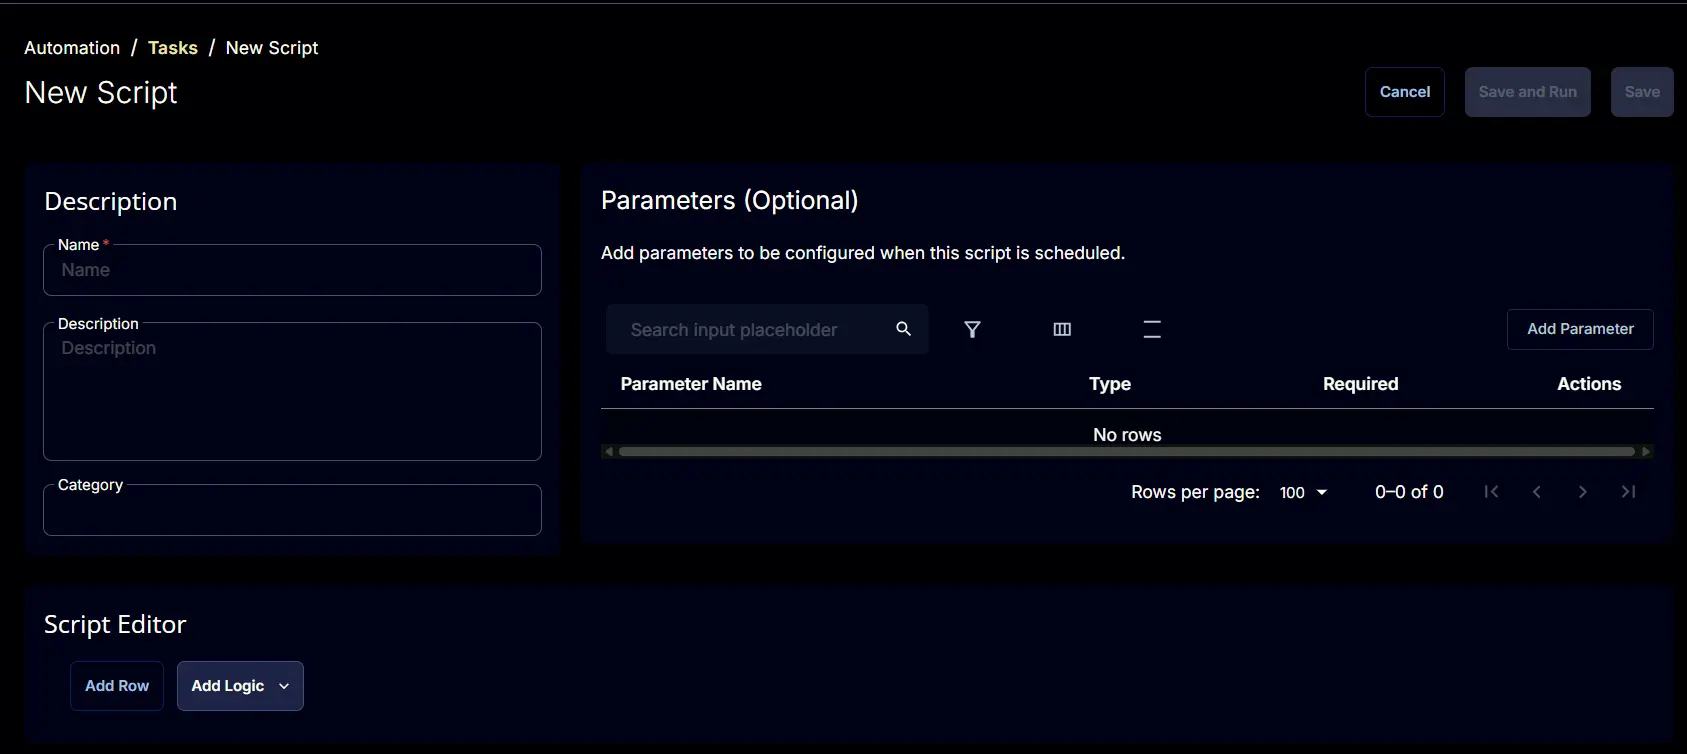
Create a new Script Editor style task by choosing the Script Editor option from the Add dropdown menu

The New Script page will appear on clicking the Script Editor button:
Step 3
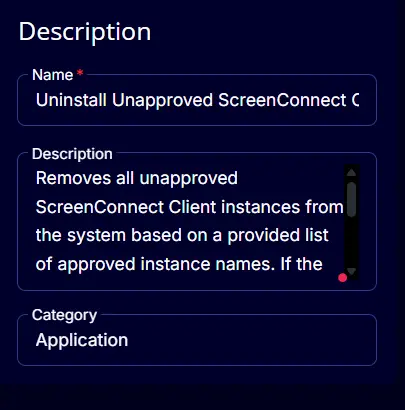
Fill in the following details in the Description section:
-
Name:
Uninstall Unapproved ScreenConnect Client -
Description:
Removes all unapproved ScreenConnect Client instances from the system based on a provided list of approved instance names. If the ApprovedInstances parameter is set to none, all ScreenConnect Clients will be uninstalled. Double-check instance IDs to avoid removing required clients. -
Category:
Application
Parameters
ApprovedInstances
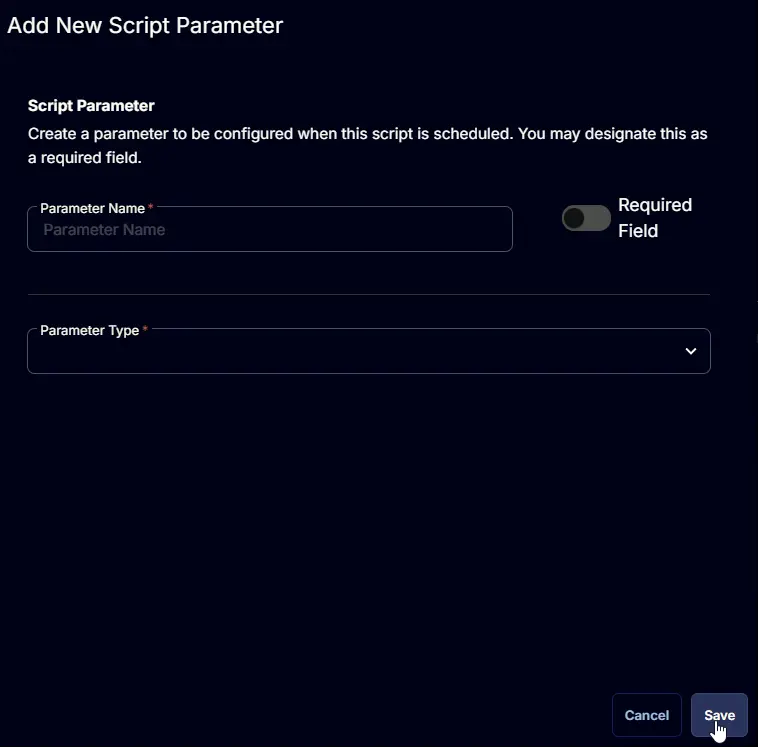
Locate the Add Parameter button on the right-hand side of the screen and click on it to create a new parameter.

The Add New Script Parameter page will appear on clicking the Add Parameter button.
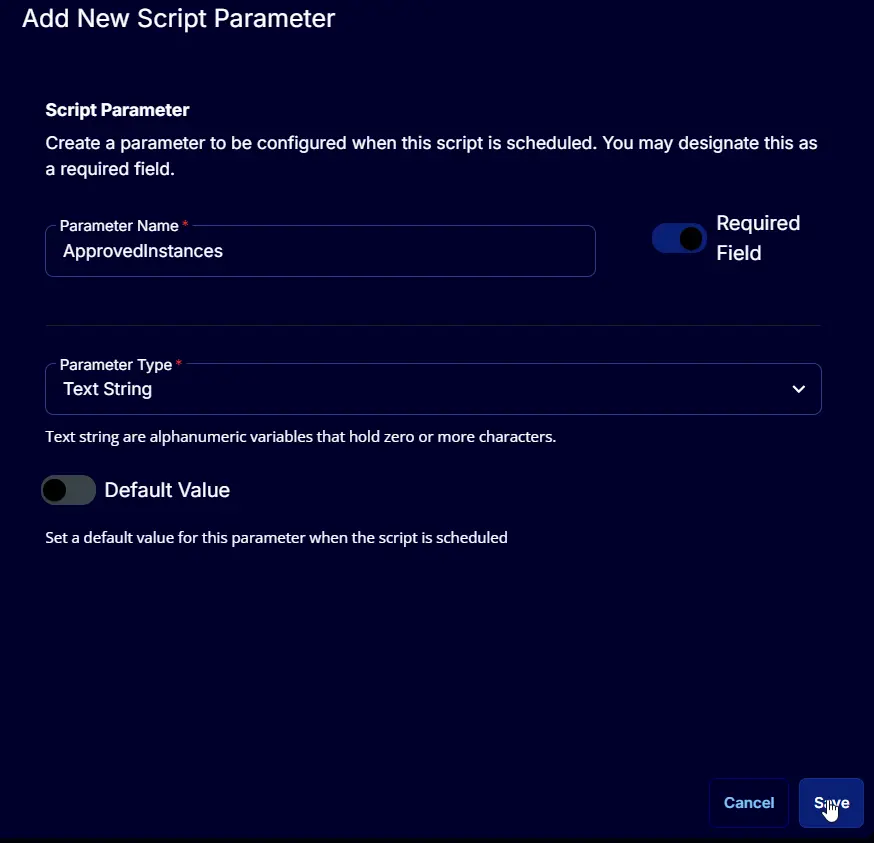
Configure the parameter as described below:
- Parameter Name:
ApprovedInstances - Required Field:
True - Parameter Type:
Text String - Default Value:
False
Click the Save button to add the parameter.
Read the message that will appear after clicking the Save button and click the Confirm button to save the changes.

Script Editor
Click the Add Row button in the Script Editor section to start creating the script

A blank function will appear:

Row 1 Function: PowerShell
Search and select the PowerShell Script function.


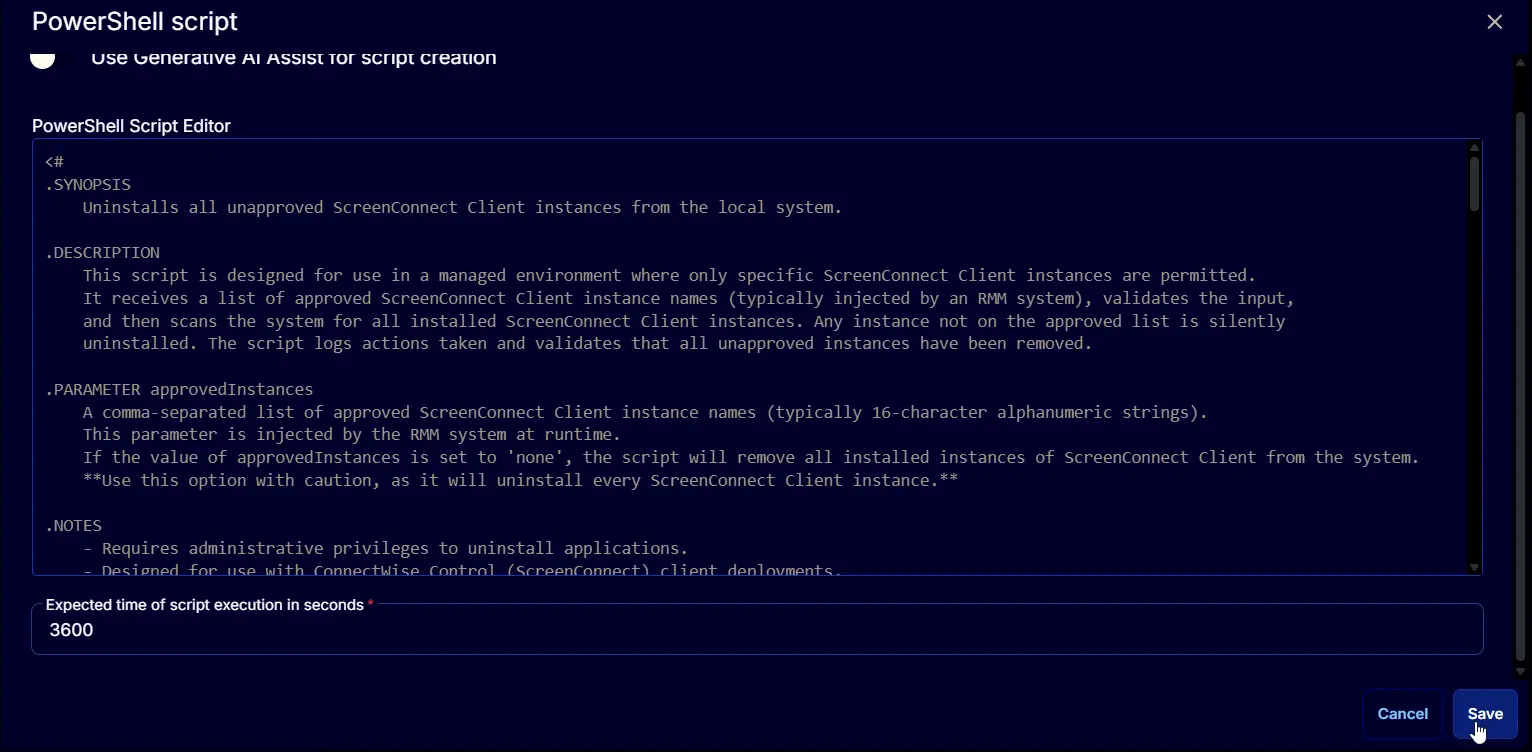
The following function will pop up on the screen:

Paste in the following PowerShell script and set the Expected time of script execution in seconds to 3600 seconds. Click the Save button.
Row 2 Function: Script Log
Add a new row by clicking the Add Row button.
A blank function will appear.
Search and select the Script Log function.

The following function will pop up on the screen:

In the script log message, simply type %Output% and click the Save button.

Save Task
Click the Save button at the top-right corner of the screen to save the script.

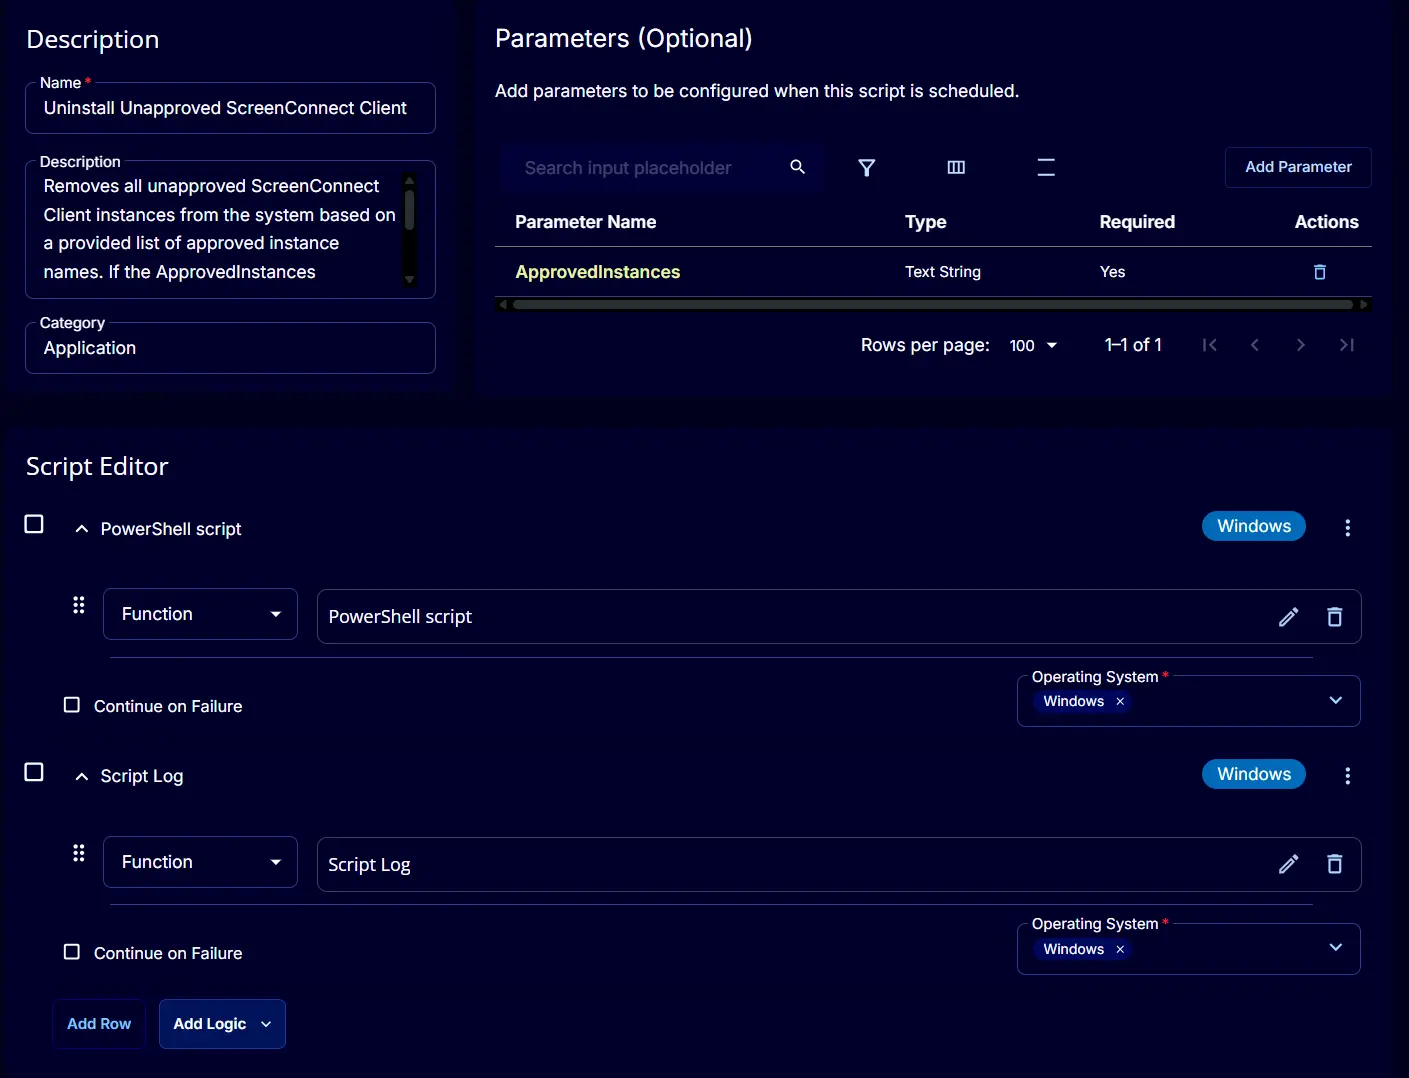
Completed Task
Output
- Script logs
Changelog
2025-06-09
- Initial version of the document