cPVAL Manage Time Zone
Summary
Select OS to enable Automatic Time Zone Management
Details
| Label | Field Name | Definition Scope | Type | Required | Default Value | Technician Permission | Automation Permission | API Permission | Description | Tool Tip | Footer Text |
|---|---|---|---|---|---|---|---|---|---|---|---|
| cPVAL Manage Time Zone | cpvalManageTimeZone | Organization, Location, Device | Drop-down | False | Editable | Read/Write | Read/Write | Select OS to enable Automatic Time Zone Management | Select OS to enable Automatic Time Zone Management | Manage Time Zone |
Dependencies
Custom Field Creation
Step 1
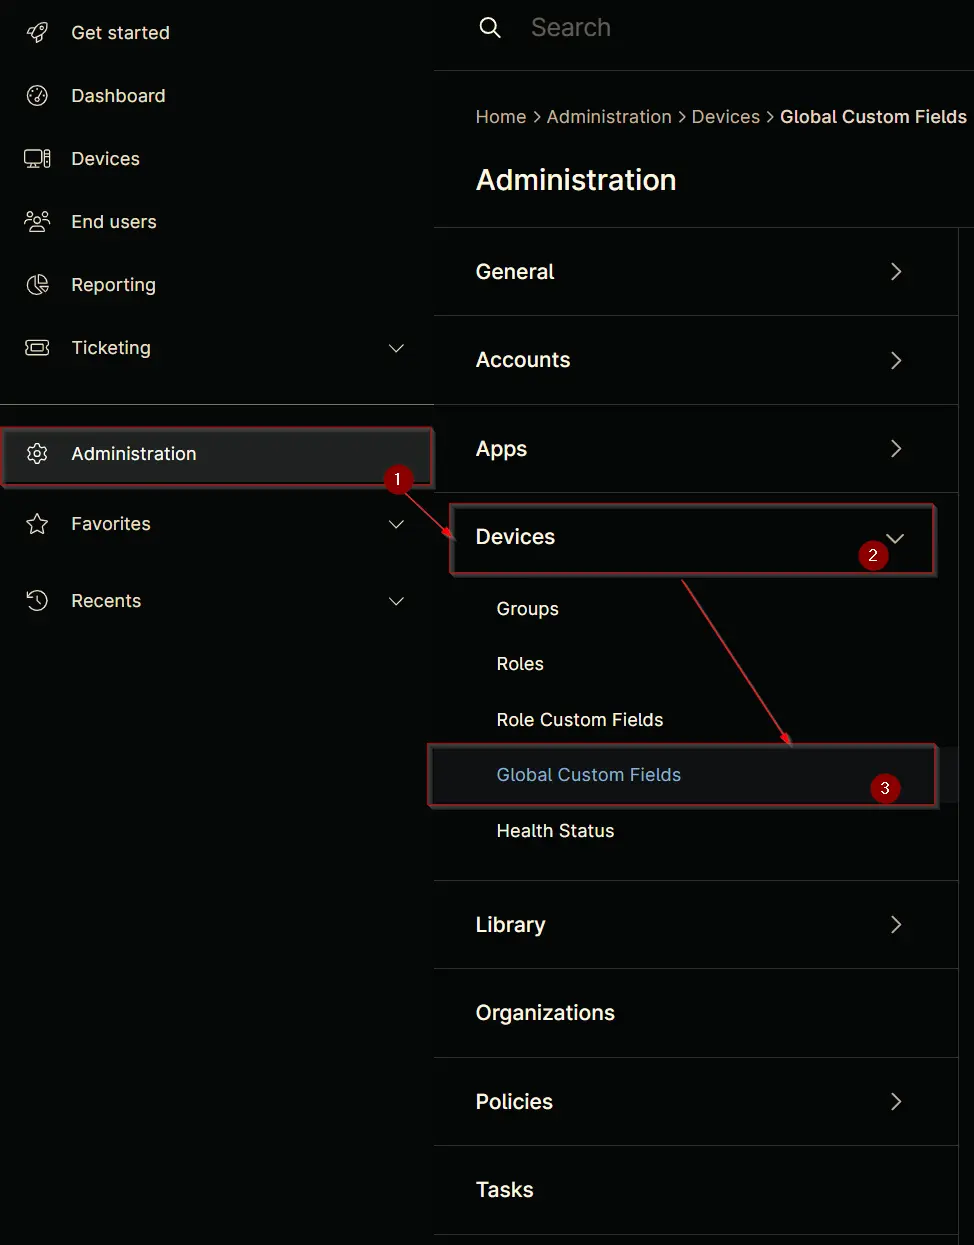
Navigate to the Administration menu, then proceed to Devices and select Global Custom Fields.
Step 2
Locate the Add button on the right-hand side of the screen and click on it.

Step 3
After clicking the Add button, select the Field button that appears.

The following Pop-up screen will appear:
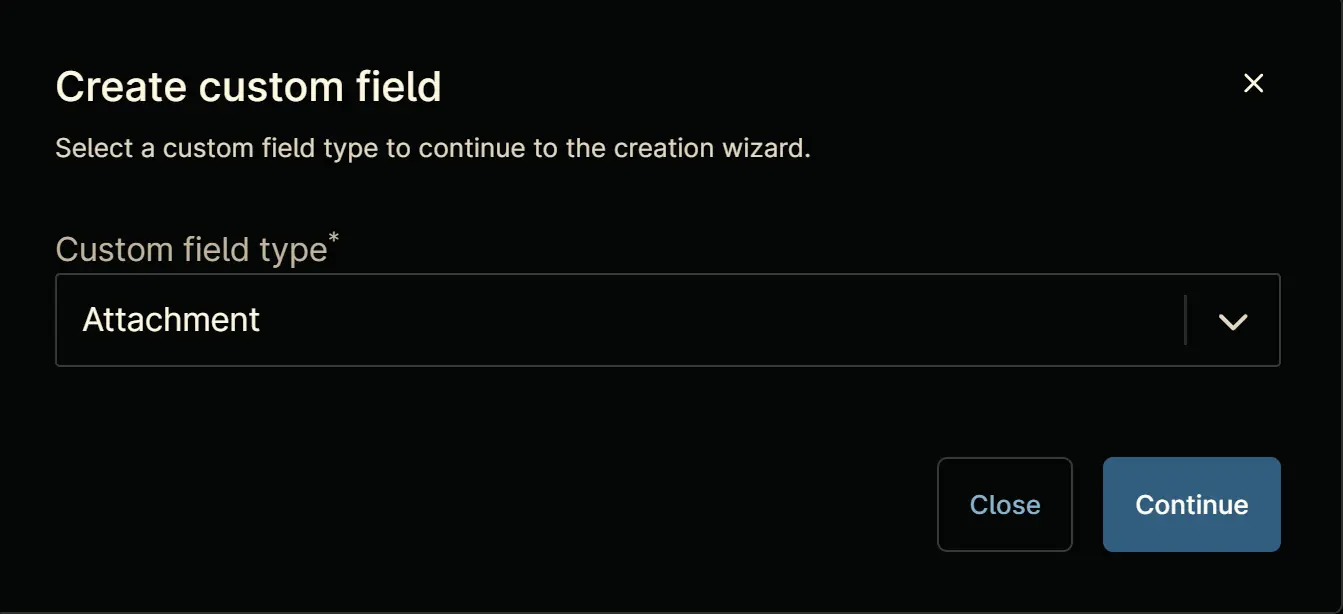
Step 4
Custom Field Type: Drop-down
Select Drop-down for the Custom field type and click Continue to proceed.
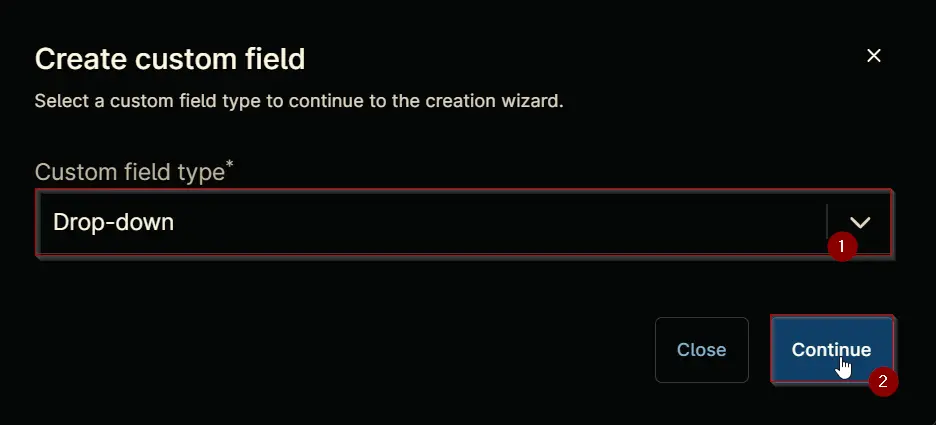
The following Pop-up screen will appear:
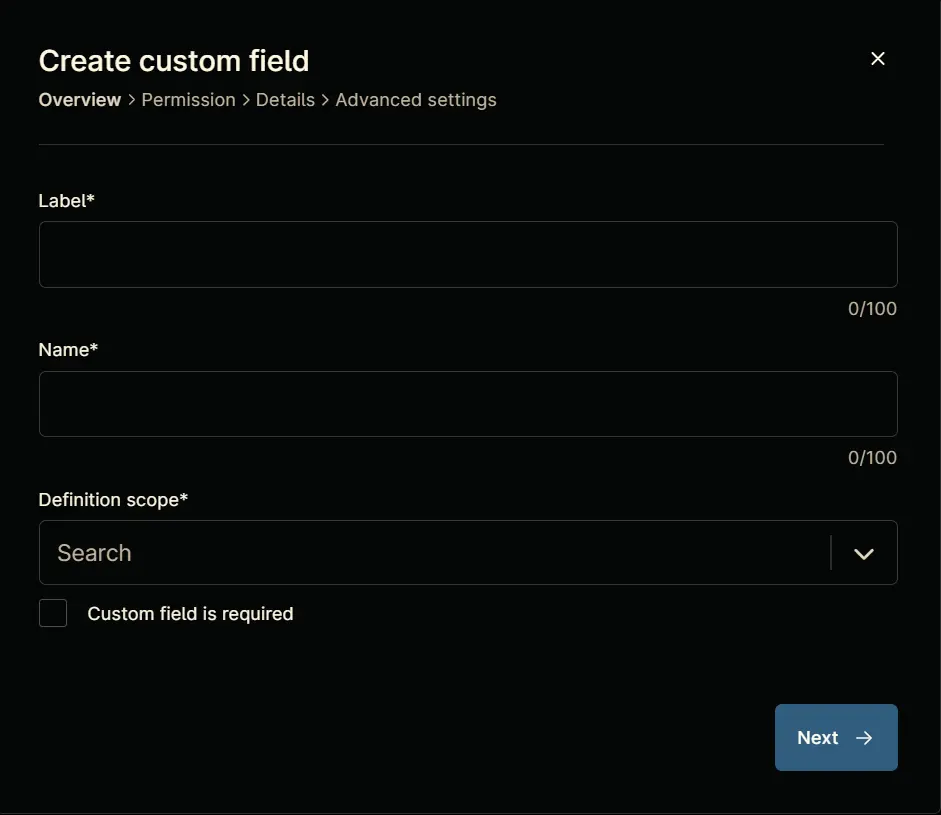
Step 5
Set the following details in the Overview section and click the Next button.
- Label:
cPVAL Manage Time Zone - Name:
cpvalManageTimeZone - Definition Scope:
Organization,Location,Device - Custom field is required:
<Leave it unchecked>
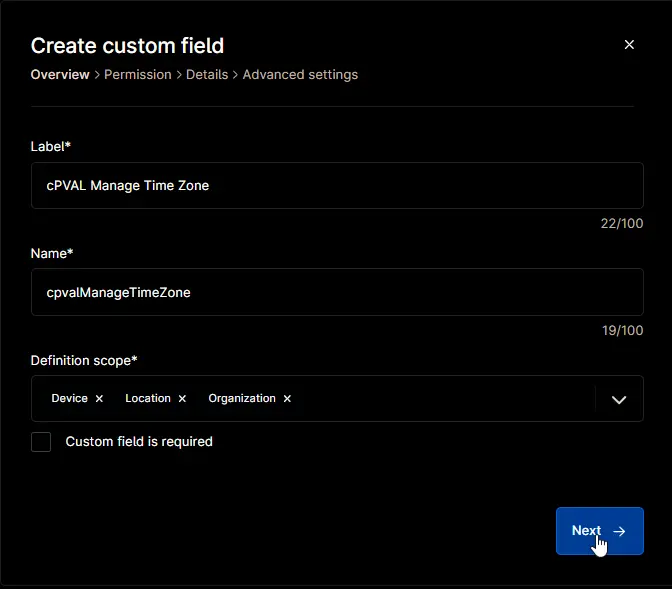
Clicking the Next button will take you to the Permission section.
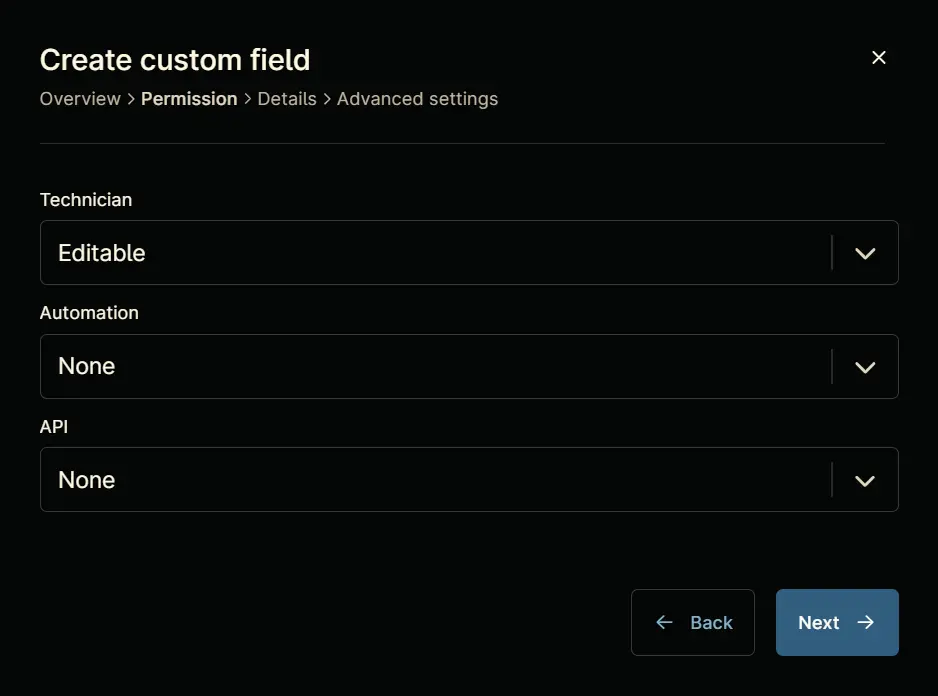
Step 6
Set the following details in the Permission section and click the Next button.
- Technician:
Editable - Automation:
Read/Write - API:
Read/Write
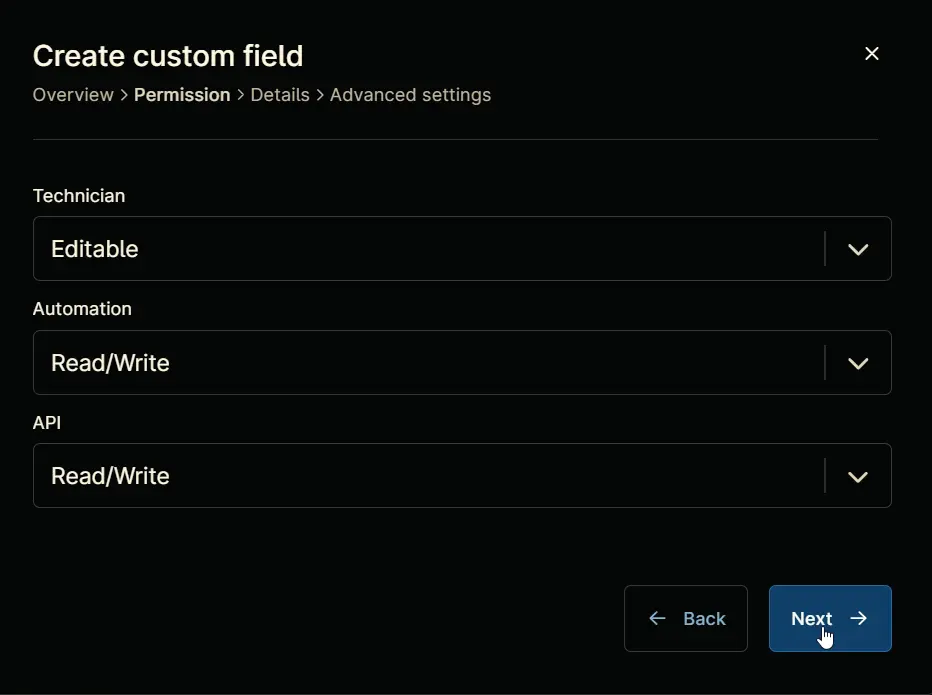
Clicking the Next button will take you to the Details tab.
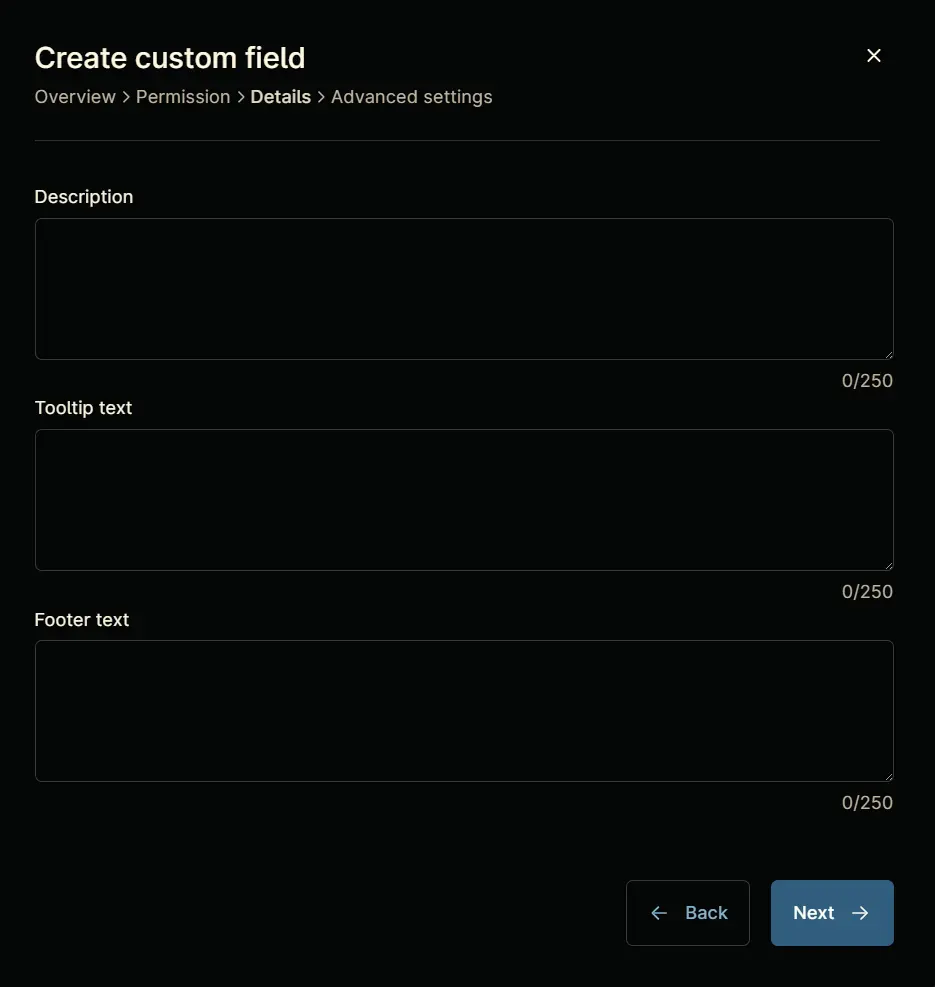
Step 7
Fill in the following information in the Details section and click the Next button.
- Description:
Select OS to enable Automatic Time Zone Management - Tooltip Text:
Select OS to enable Automatic Time Zone Management - Footer Text:
Manage Time Zone
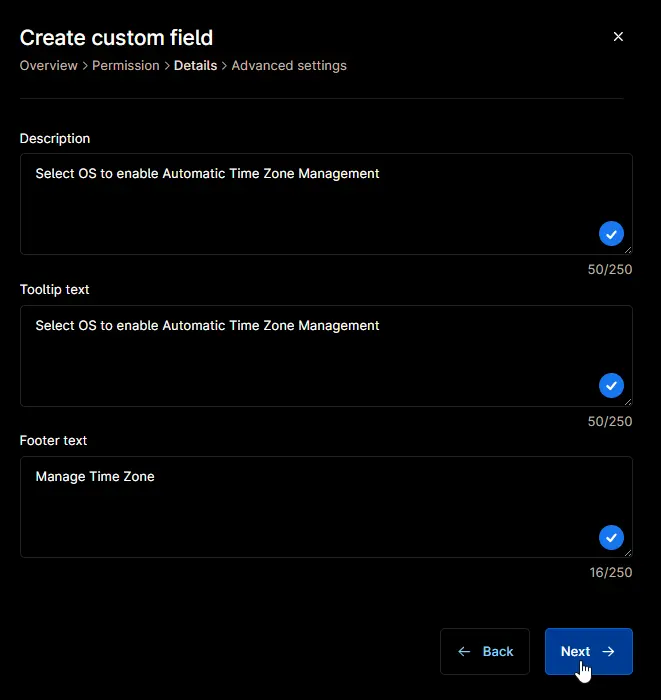
Clicking the Next button will take you to the Advanced Settings tab.

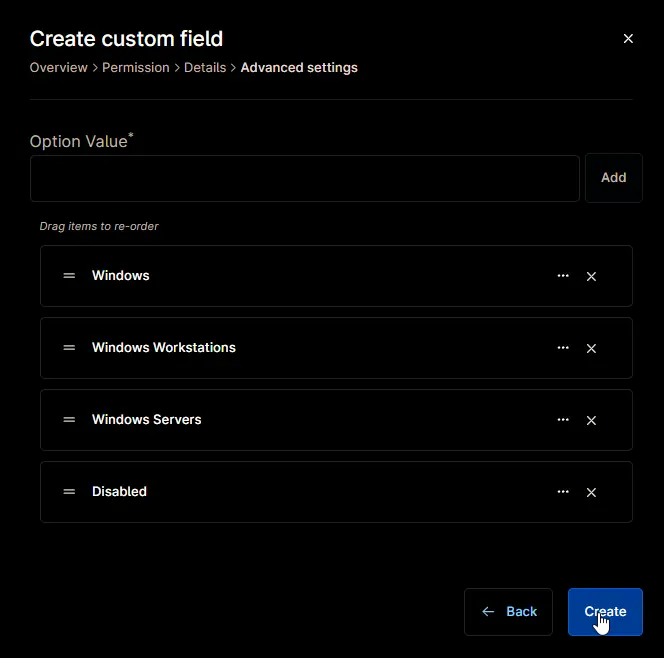
Step 8
Configure the following options in the specified order. To add an option, paste it and click the Add button:
- Windows
- Windows Workstations
- Windows Servers
- Disabled
Click the Create button to create the Custom Field.
Completed Custom Field
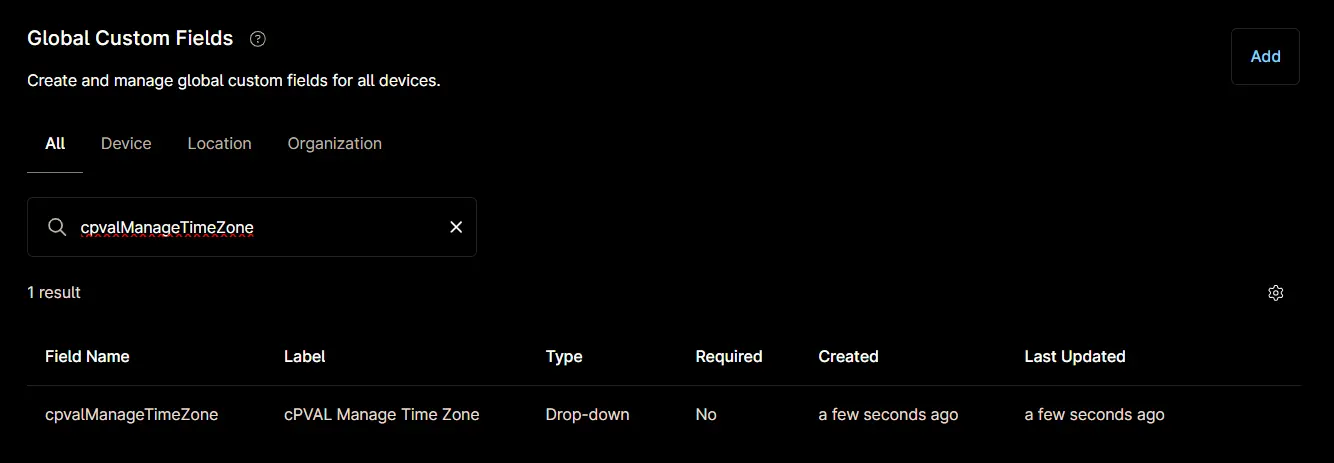
Example

Changelog
2025-06-26
- Initial version of the document