Chromium Browsers - Extension - Install
Summary
Install Extensions on Popular Chromium Browsers ('Chrome', 'Edge', 'Brave', 'Vivaldi', 'Chromium').
Sample Run
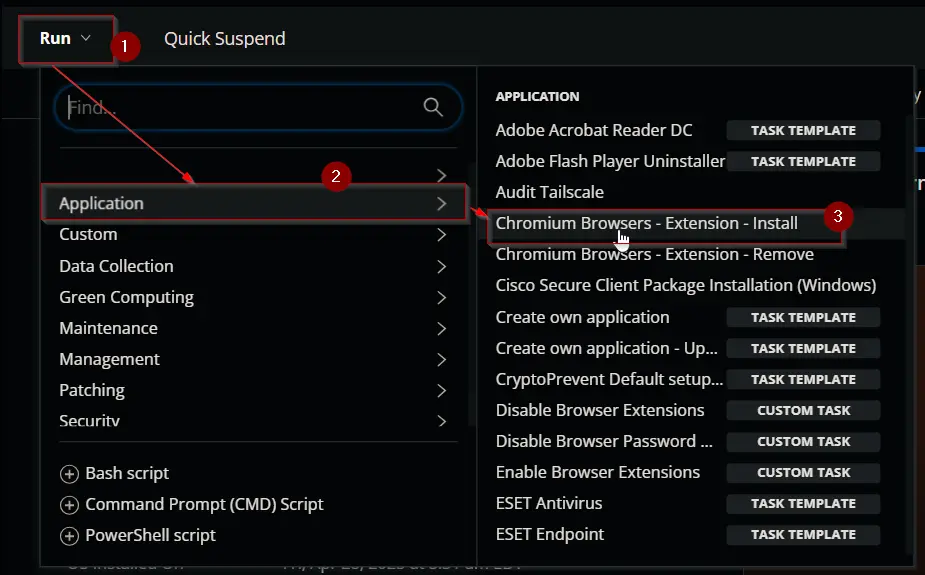
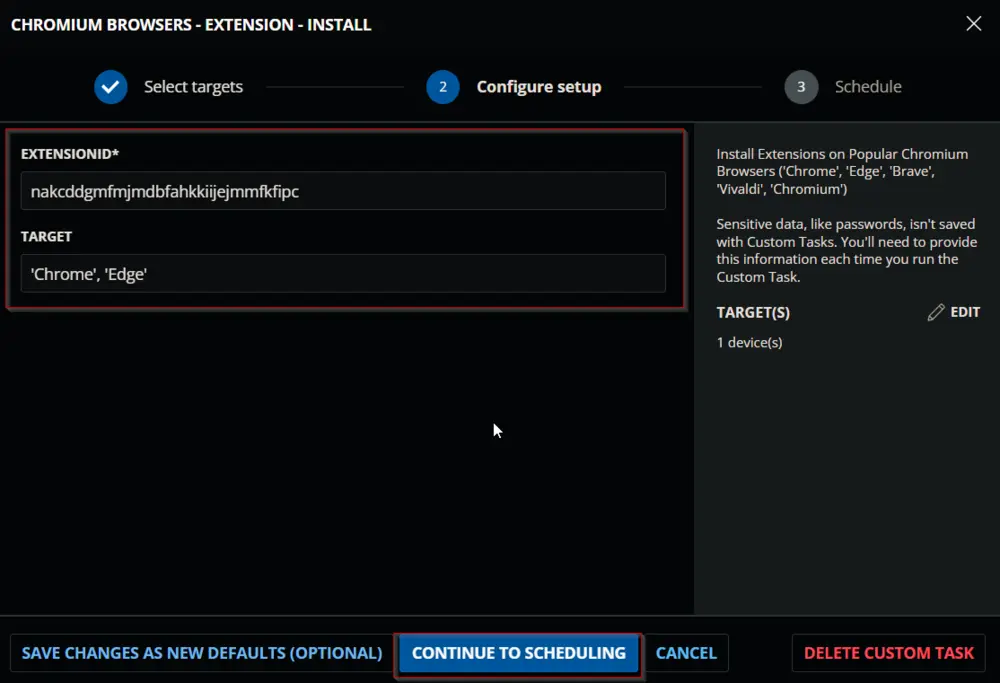
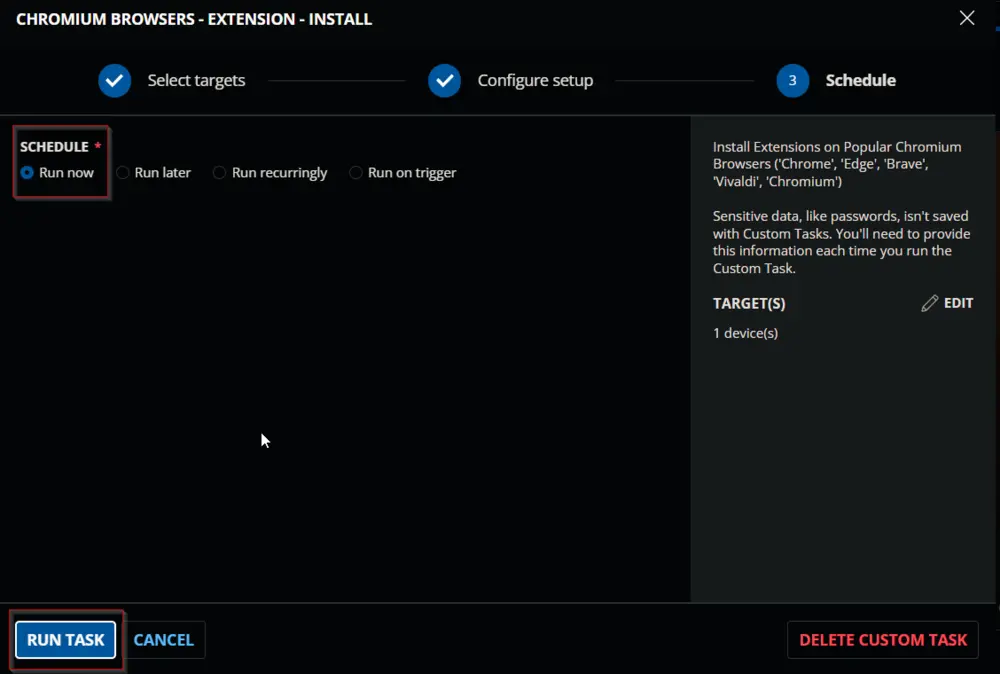
Dependencies
User Parameters
| Name | Example | Required | Description |
|---|---|---|---|
| ExtensionID | nakcddgmfmjmdbfahkkiijejmmfkfipc | True | The ExtensionID of the Extension(s) from the Google Chrome Store. Multiple IDs can be separated by a comma. Example: `'kgjfgplpablkjnlkjmjdecgdpfankdle', 'cjpalhdlnbpafiamejdnhcphjbkeiagm' |
| Target | Chrome | False | Designates the target browser to add the extension to. Defaults to applying settings to all available targets. Available Options: 'Chrome', 'Edge', 'Brave', 'Vivaldi', 'Chromium'. Multiple IDs can be separated by a comma: 'Chrome', 'Edge', 'Brave' |
Task Creation
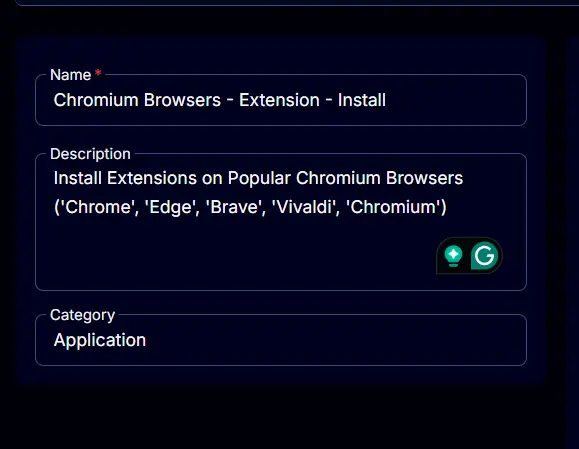
Create a new Script Editor style script in the system to implement this Task.
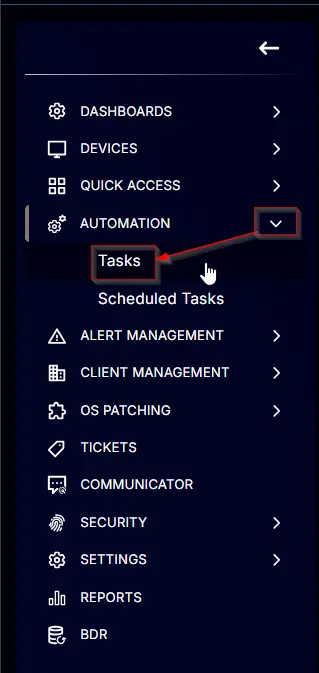

Name: Chromium Browsers - Extension - Install
Description: Install Extensions on Popular Chromium Browsers ('Chrome', 'Edge', 'Brave', 'Vivaldi', 'Chromium')
Category: Application
Parameters
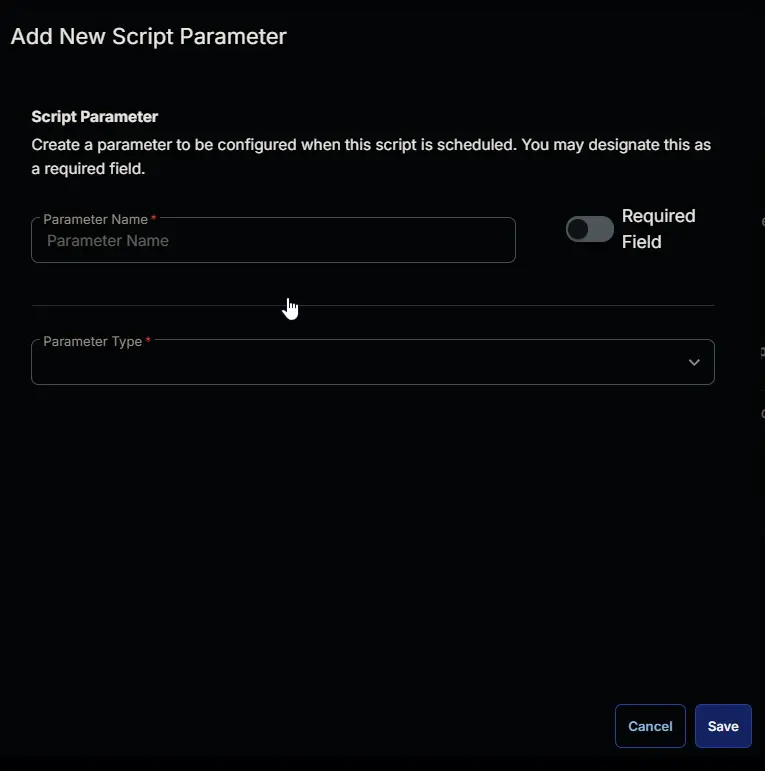
Add a new parameter by clicking the Add Parameter button present at the top-right corner of the screen.

This screen will appear.
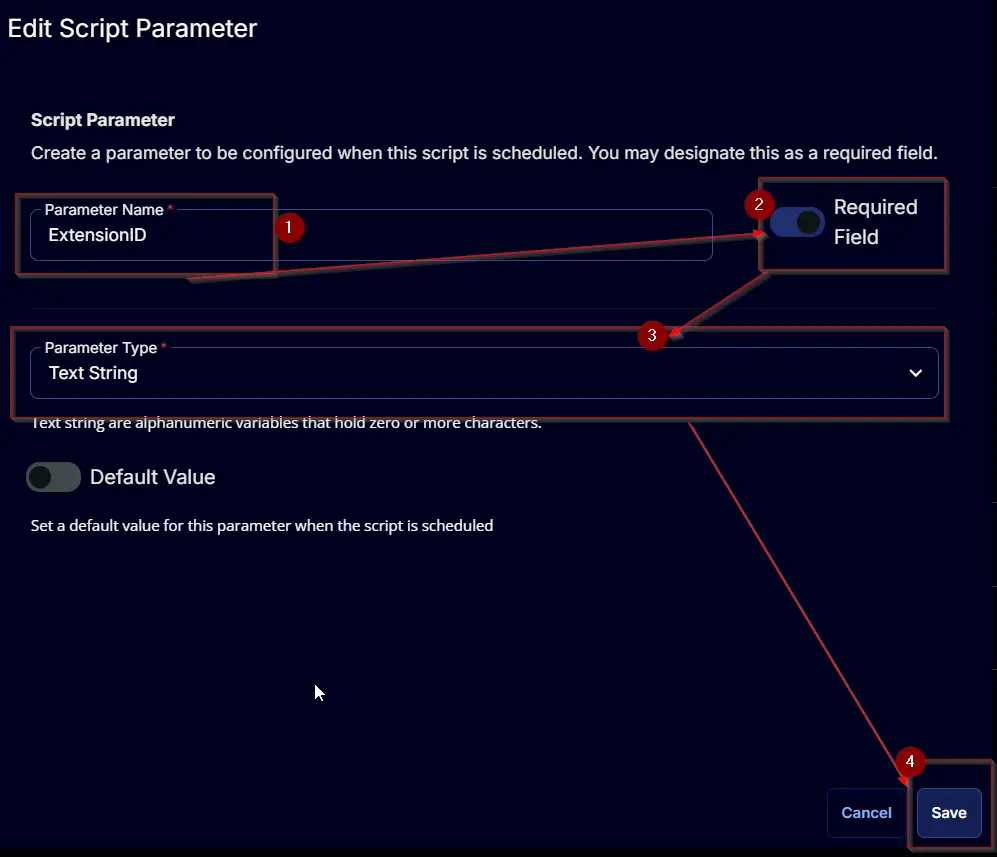
- Set
ExtensionIDin theParameter Namefield. - Enable the
Required Fieldoption. - Select
Text Stringfrom theParameter Typedropdown menu. - Click the
Savebutton.
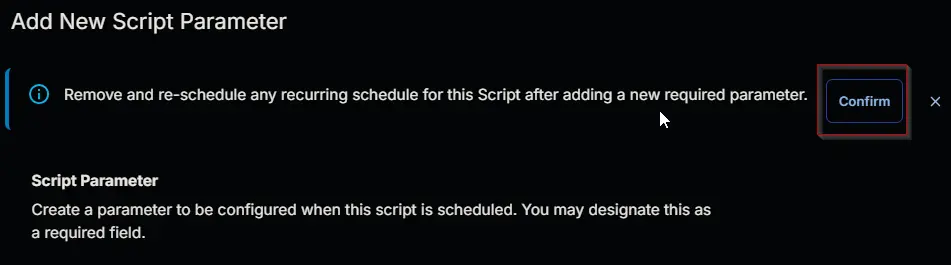
- It will ask for confirmation to proceed. Click the
Confirmbutton to create the parameter.
Add another parameter by clicking the Add Parameter button present at the top-right corner of the screen.
This screen will appear.
- Set
Targetin theParameter Namefield. - Select
Text Stringfrom theParameter Typedropdown menu. - Click the
Savebutton.
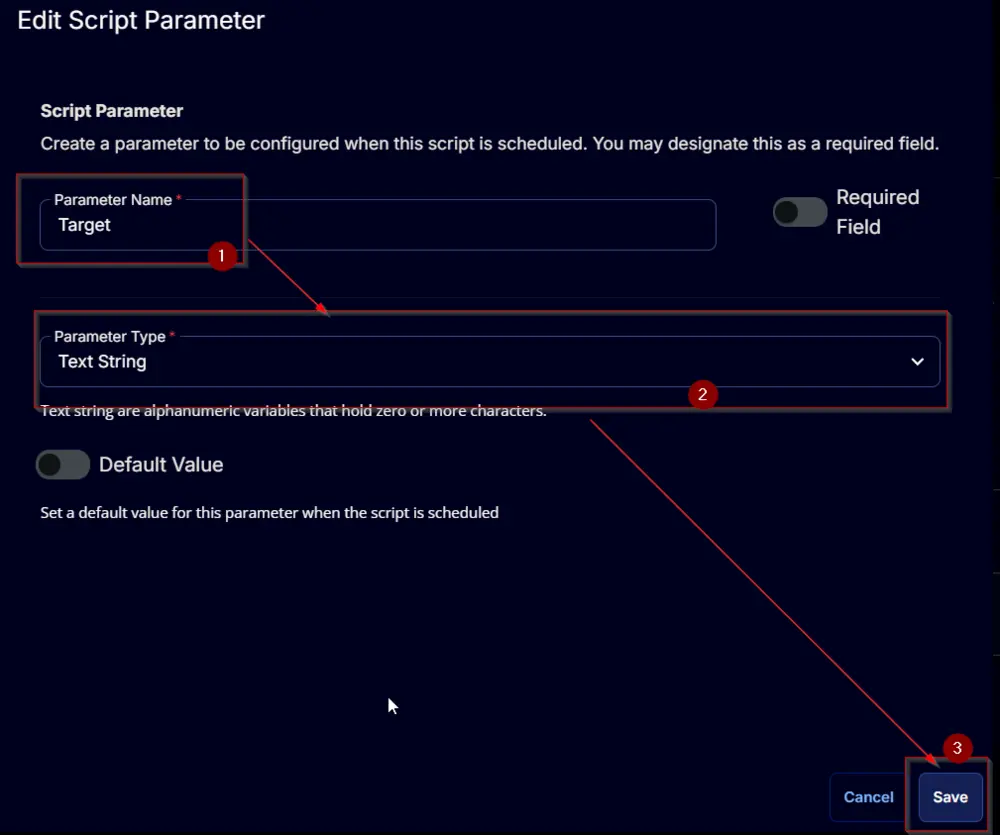
- It will ask for confirmation to proceed. Click the
Confirmbutton to create the parameter.
Task
Navigate to the Script Editor Section and start by adding a row. You can do this by clicking the Add Row button at the bottom of the script page.

A blank function will appear.

Row 1 Function: PowerShell Script
Search and select the PowerShell Script function.


The following function will pop up on the screen:

Paste in the following PowerShell script and set the expected time of script execution to 900 seconds. Click the Save button.
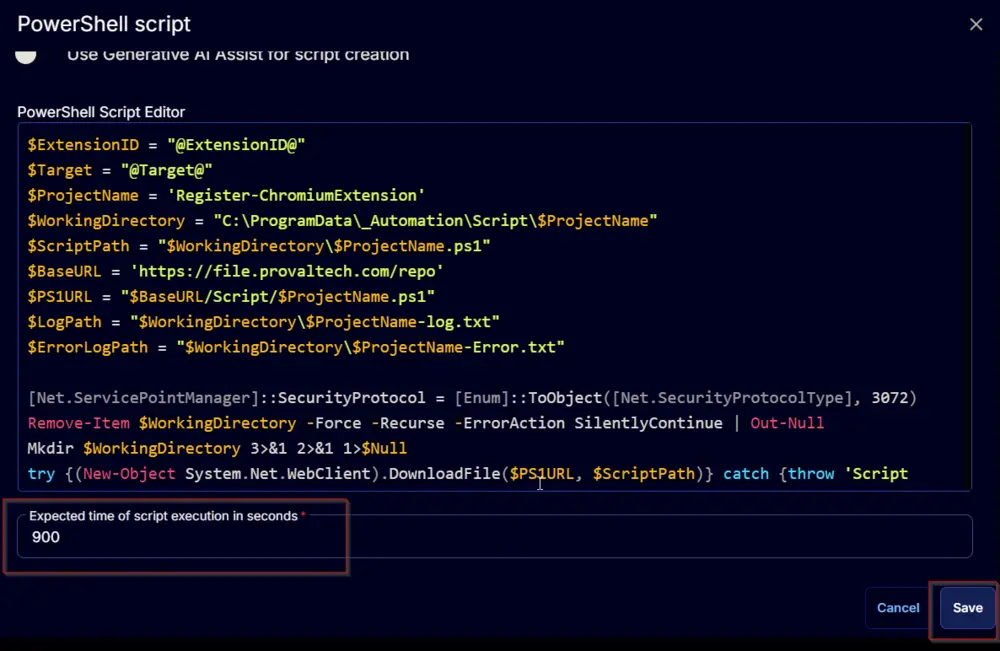
Click the Save button at the top-right corner of the screen to save the script.

Completed Task

Output
- Script Log
Changelog
2025-04-10
- Initial version of the document