DNS - Aging and Scavenging - Configure Intervals
Summary
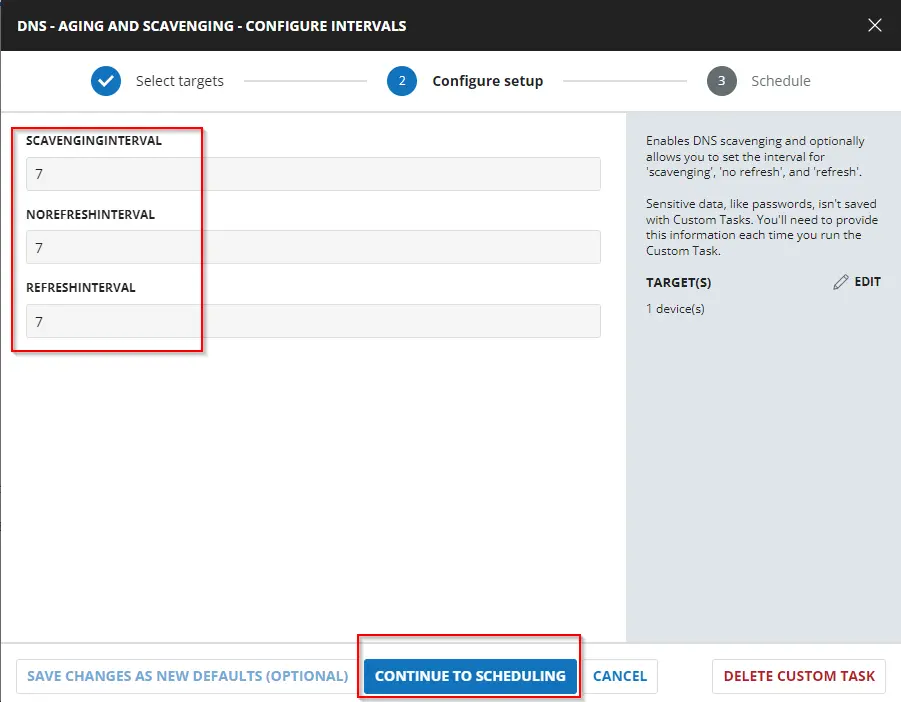
This is an RMM implementation of the agnostic script Set-DNSServerScavengingSettings. It enables DNS scavenging and optionally allows you to set the interval for scavenging, 'no refresh', and refresh.
Sample Run
Dependencies
Set-DNSServerScavengingSettings
User Parameters
| Name | Example | Accepted Values | Required | Default | Type | Description |
|---|---|---|---|---|---|---|
ScavengingInterval | 7 | Integers | False | Text | The scavenging process runs after X days. | |
NoRefreshInterval | 7 | Integers | False | Text | This setting controls when the DNS server rejects refresh requests from hosts and the DHCP service. | |
RefreshInterval | 7 | Integers | False | Text | This option determines when a DDNS record can be flagged for scavenging (deletion). The default value is seven days. |
Task Creation
Create a new Script Editor style script in the system to implement this Task.
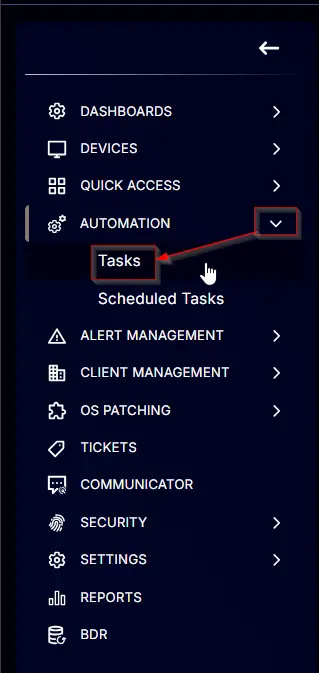
Name: DNS - Aging and Scavenging - Configure Intervals
Description: Enables DNS scavenging and optionally allows you to set the interval for 'scavenging', 'no refresh', and 'refresh'.
Category: Custom

Parameters
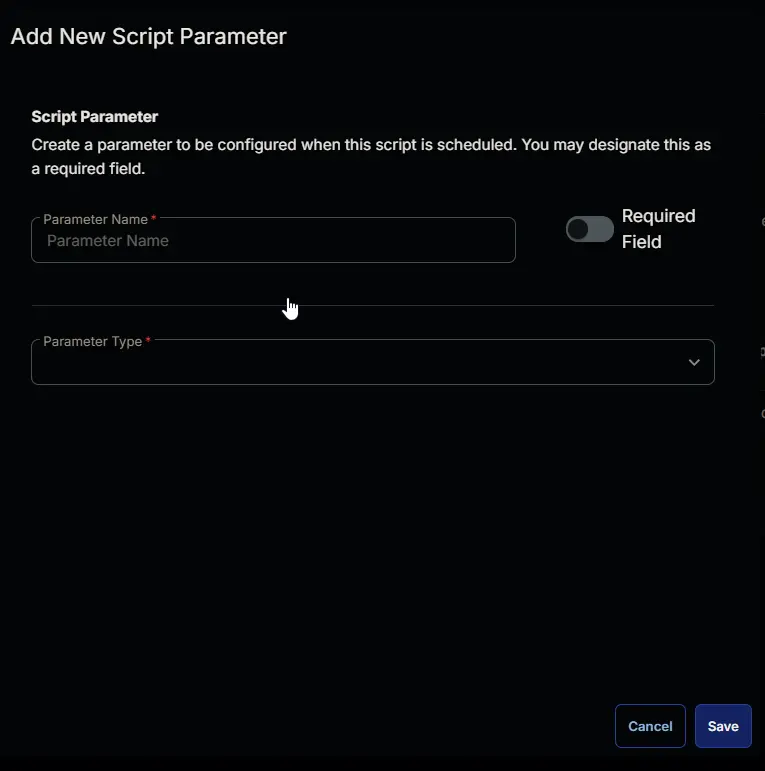
Add a new parameter by clicking the Add Parameter button present at the top-right corner of the screen.

This screen will appear.
-
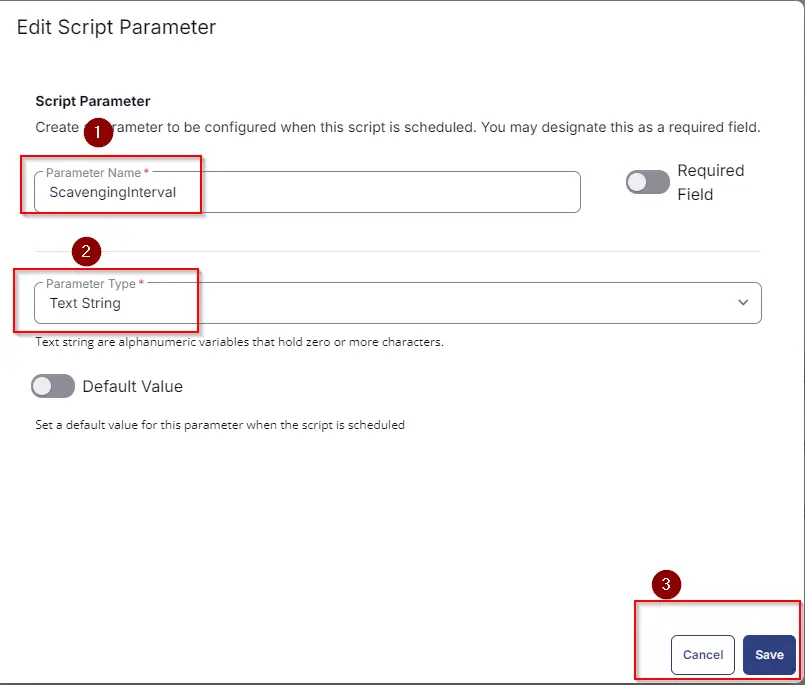
Set
ScavengingIntervalin theParameter Namefield. -
Select
Text Stringfrom theParameter Typedropdown menu. -
Click the
Savebutton.
-
It will ask for confirmation to proceed. Click the
Confirmbutton to create the parameter.

Add another parameter by clicking the Add Parameter button present at the top-right corner of the screen.

-
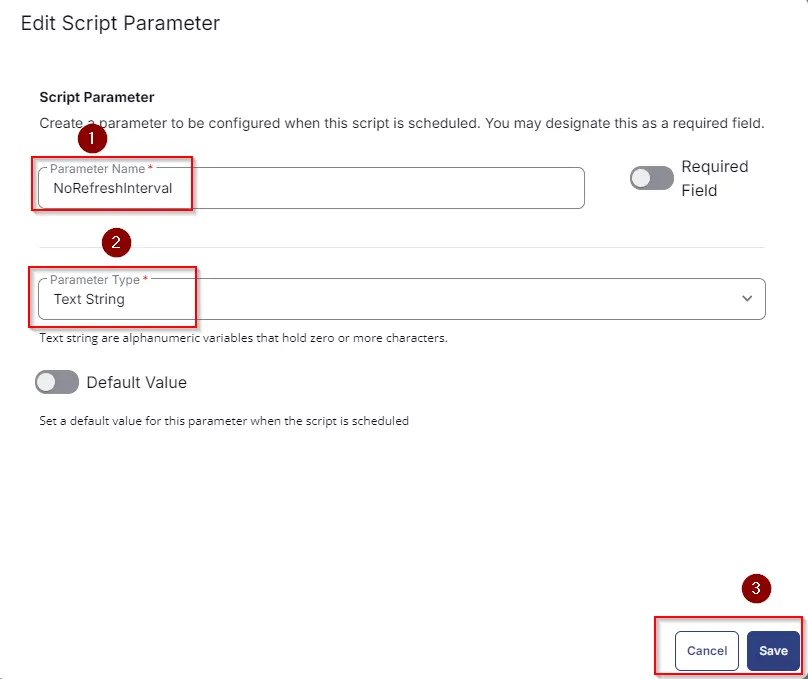
Set
NoRefreshIntervalin theParameter Namefield. -
Select
Text Stringfrom theParameter Typedropdown menu. -
Click the
Savebutton.
-
It will ask for confirmation to proceed. Click the
Confirmbutton to create the parameter.
Add another parameter by clicking the Add Parameter button present at the top-right corner of the screen.
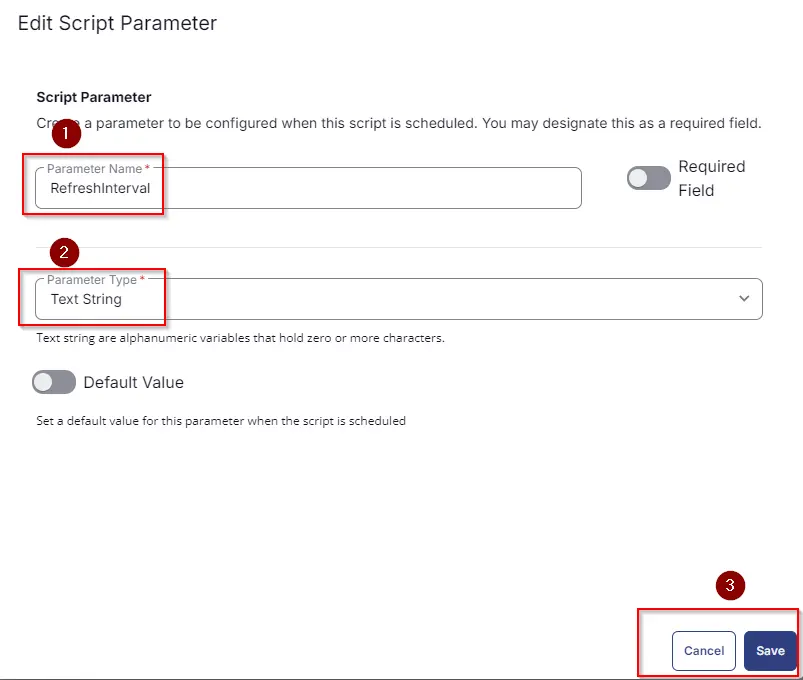
- Set
RefreshIntervalin theParameter Namefield. - Select
Text Stringfrom theParameter Typedropdown menu. - Click the
Savebutton. - It will ask for confirmation to proceed. Click the
Confirmbutton to create the parameter.
All the parameters will look like as shown below:

Task
Navigate to the Script Editor Section and start by adding a row. You can do this by clicking the Add Row button at the bottom of the script page.

A blank function will appear.

Row 1 Function: PowerShell Script
Search and select the PowerShell Script function.

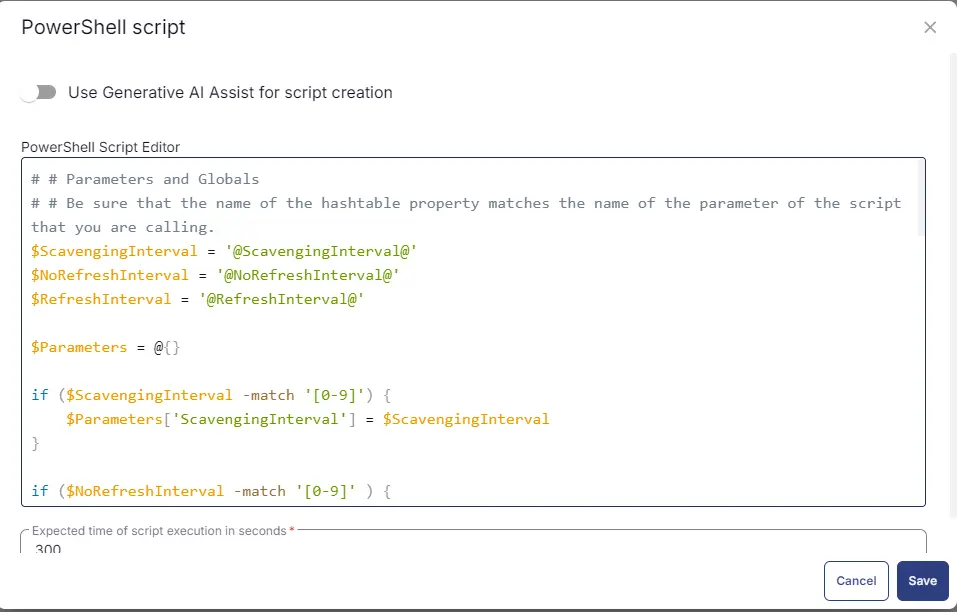
The following function will pop up on the screen:

Paste in the following PowerShell script and set the expected time of script execution to 300 seconds. Click the Save button.
Row 2: Function: Script Log
In the script log message, simply type %output% so that the script will send the results of the PowerShell script above to the output on the Automation tab for the target device.

Completed Task

Output
- Script Log
Changelog
2025-04-10
- Initial version of the document