Set-ServiceLogin
Summary
This task is used to change the service login account for a target service. This is an RMM version of Set-ServiceLogin. Please review the process mentioned in Set-ServiceLogin on how to use USER or SYSTEM mode in the script.
Sample Run
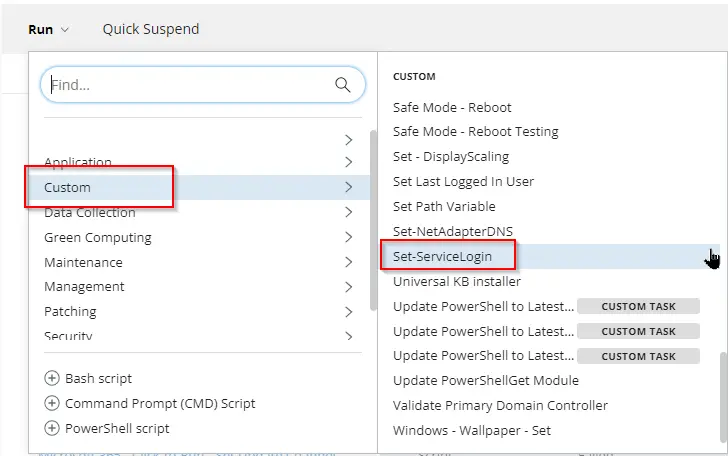
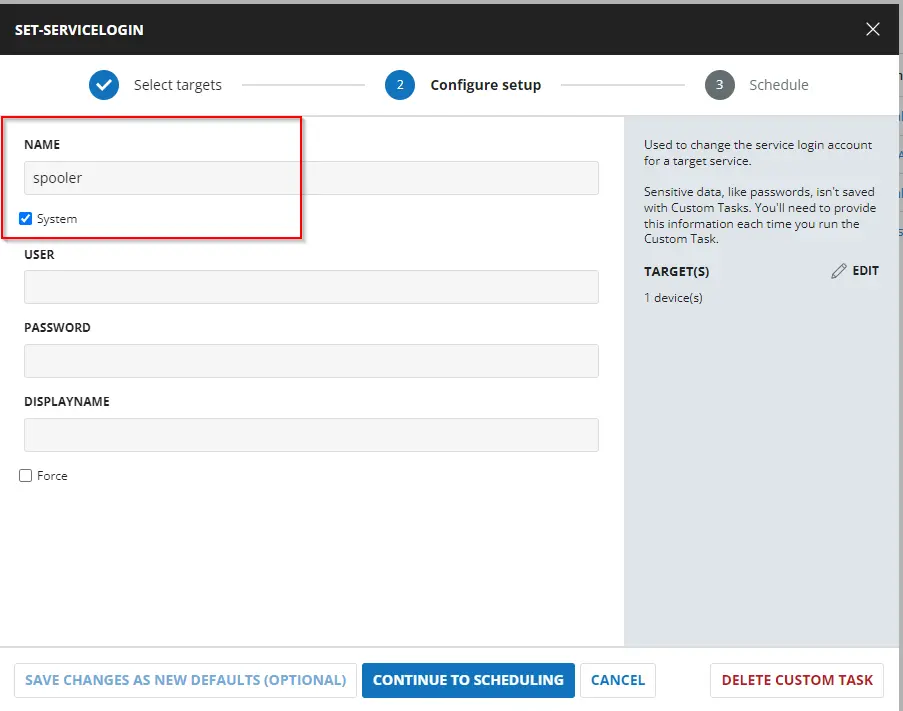
Sets the Print Spooler service to run as 'Local System'.
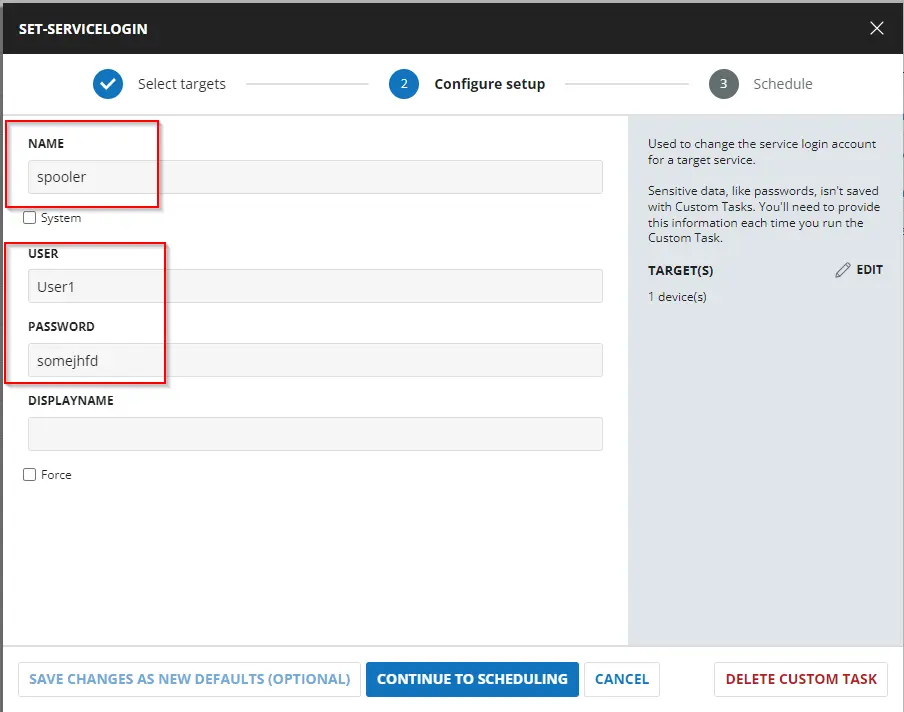
Sets the Print Spooler service to run as 'User1'. Grants 'User1' the Logon as a Service right.
Dependencies
User Parameters
| Name | Example | Accepted Values | Required | Default | Type | Description |
|---|---|---|---|---|---|---|
Name | Spooler | False | String | The service name to alter. | ||
DisplayName | Print Spooler | False | $false | String | The service display name to alter. | |
User | User1 | False | String | The username of the account to set the service to run as. | ||
Password | p@55w0rD | False | String | The password of the account to set the service to run as. | ||
System | Marked | False | Flag | Use this switch to set the service to run as the Local System account. | ||
Force | Marked | False | $false | Flag | Intended to force DNS address updates to DHCP-enabled adapters. |
Task Creation
Create a new Script Editor style script in the system to implement this task.
Name: Set-ServiceLogin
Description: Used to change the service login account for a target service.
Category: Custom

Parameters
Add a new parameter by clicking the Add Parameter button present at the top-right corner of the screen.

This screen will appear.
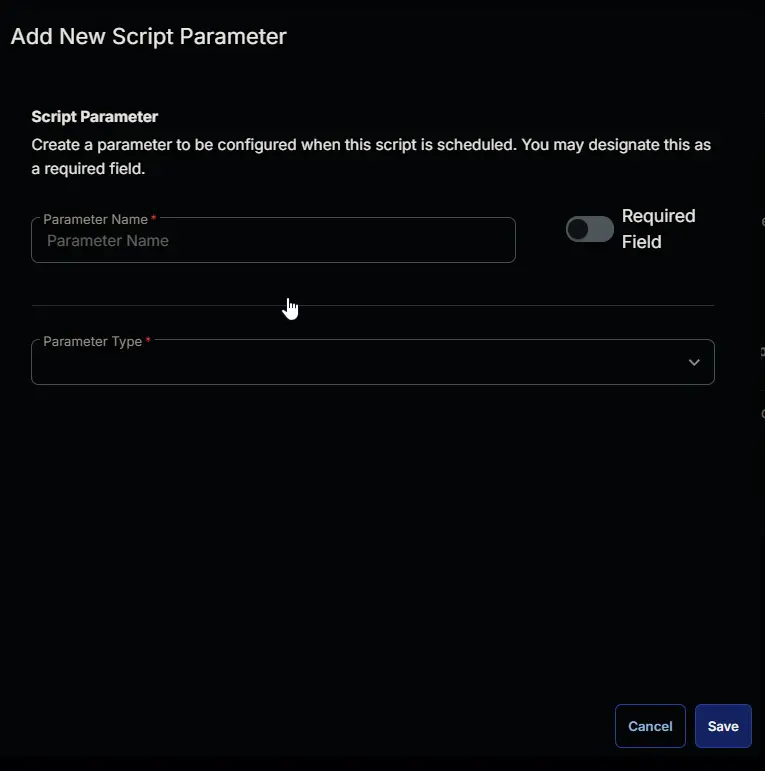
- Set
Namein theParameter Namefield. - Select
Stringfrom theParameter Typedropdown menu. - Toggle Required Field.
- Click the
Savebutton.
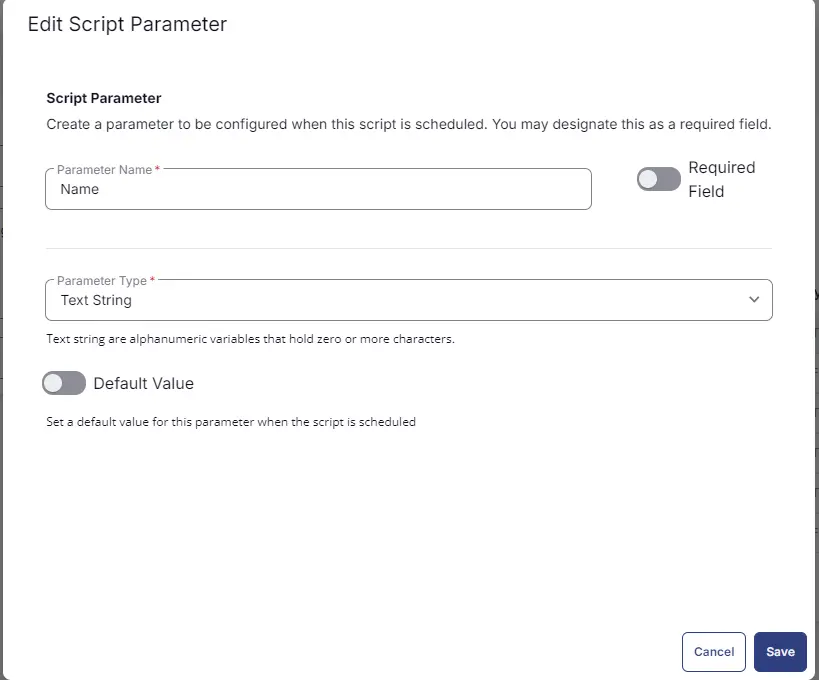
It will ask for confirmation to proceed. Click the Confirm button to create the parameter.

Add another parameter by clicking the Add Parameter button present at the top-right corner of the screen.

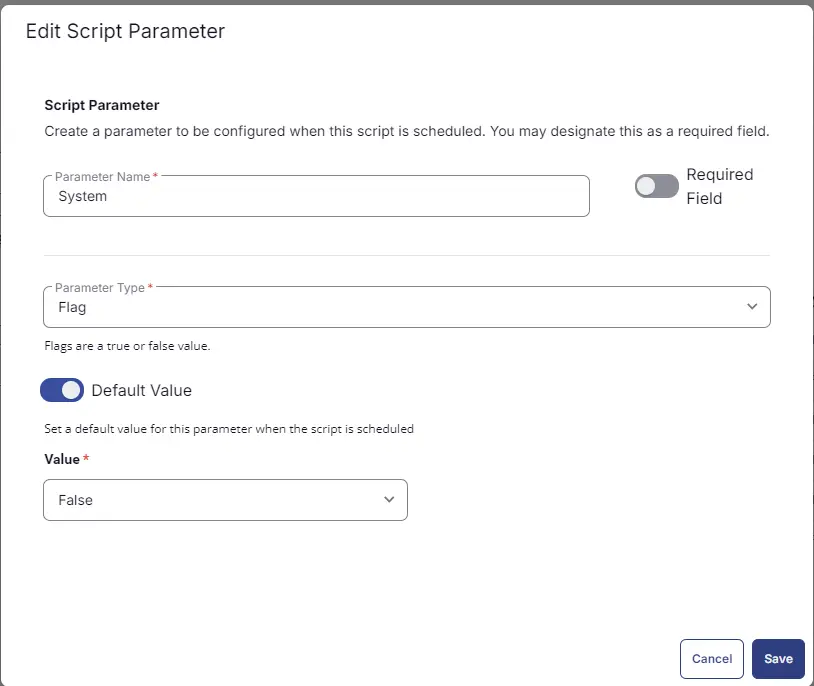
- Set
Systemin theParameter Namefield. - Select
Flagfrom theParameter Typedropdown menu. - Toggle Default Value.
- Set Default Value as
False. - Click the
Savebutton. - Click the
Confirmbutton to create the parameter.
Add another parameter.
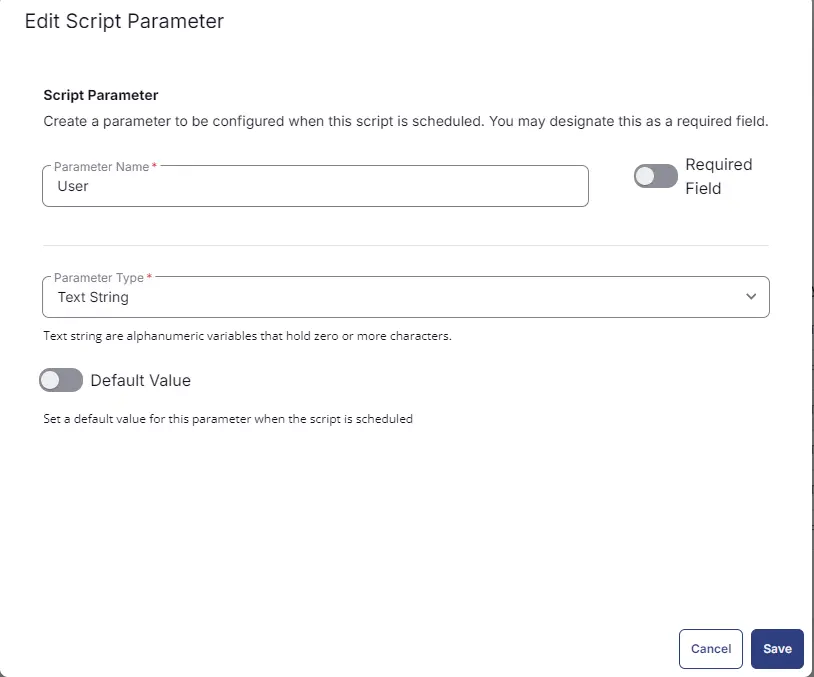
- Set
Userin theParameter Namefield. - Select
Stringfrom theParameter Typedropdown menu. - Toggle Required Field.
- Click the
Savebutton.
Add another parameter.
- Set
Passwordin theParameter Namefield. - Select
Stringfrom theParameter Typedropdown menu. - Toggle Required Field.
- Click the
Savebutton.
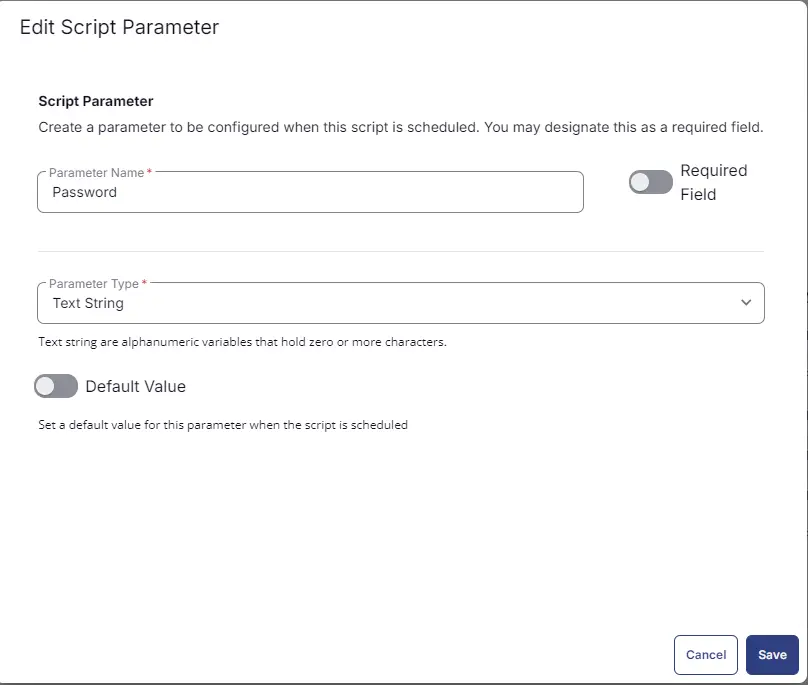
Add another parameter.
- Set
DisplayNamein theParameter Namefield. - Select
Stringfrom theParameter Typedropdown menu. - Toggle Required Field.
- Click the
Savebutton.
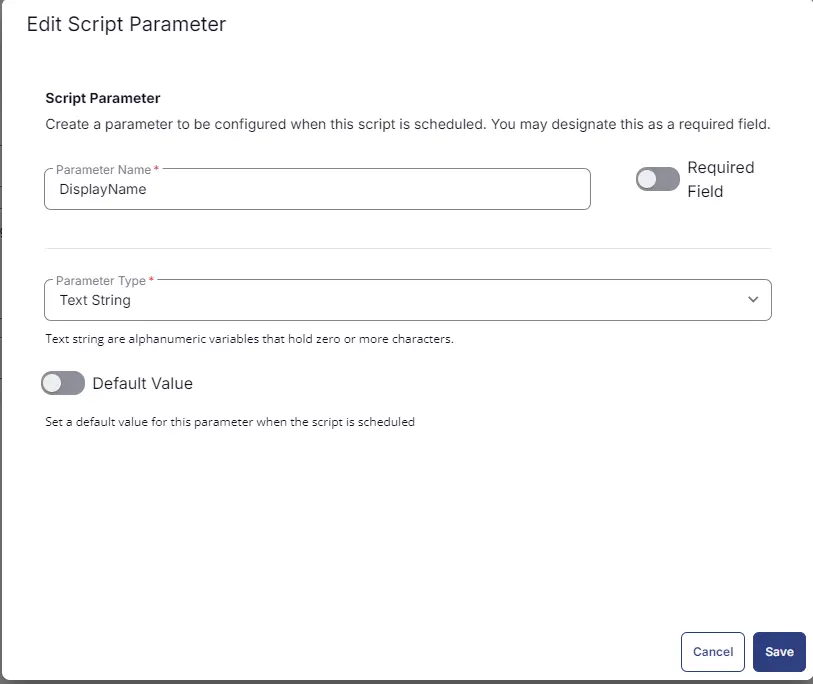
Add another parameter.
- Set
Forcein theParameter Namefield. - Select
Flagfrom theParameter Typedropdown menu. - Toggle Default Value.
- Set Default Value as
False. - Click the
Savebutton. - Click the
Confirmbutton to create the parameter.
Parameters will look like as shown below:

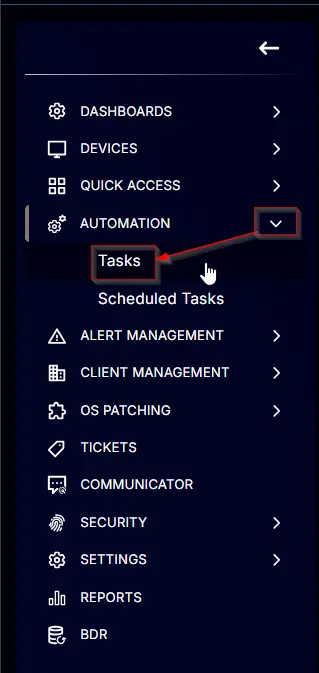
Task
Navigate to the Script Editor section and start by adding a row. You can do this by clicking the Add Row button at the bottom of the script page.

A blank function will appear.

Row 1 Function: PowerShell Script
Search and select the PowerShell Script function.

The following function will pop up on the screen:

Paste in the following PowerShell script and set the expected time of script execution to 600 seconds. Click the Save button.
Row 2: Function: Script Log
In the script log message, simply type %output% so that the script will send the results of the PowerShell script above to the output on the Automation tab for the target device.

Completed Task

Output
- Script Log
Changelog
2025-04-10
- Initial version of the document